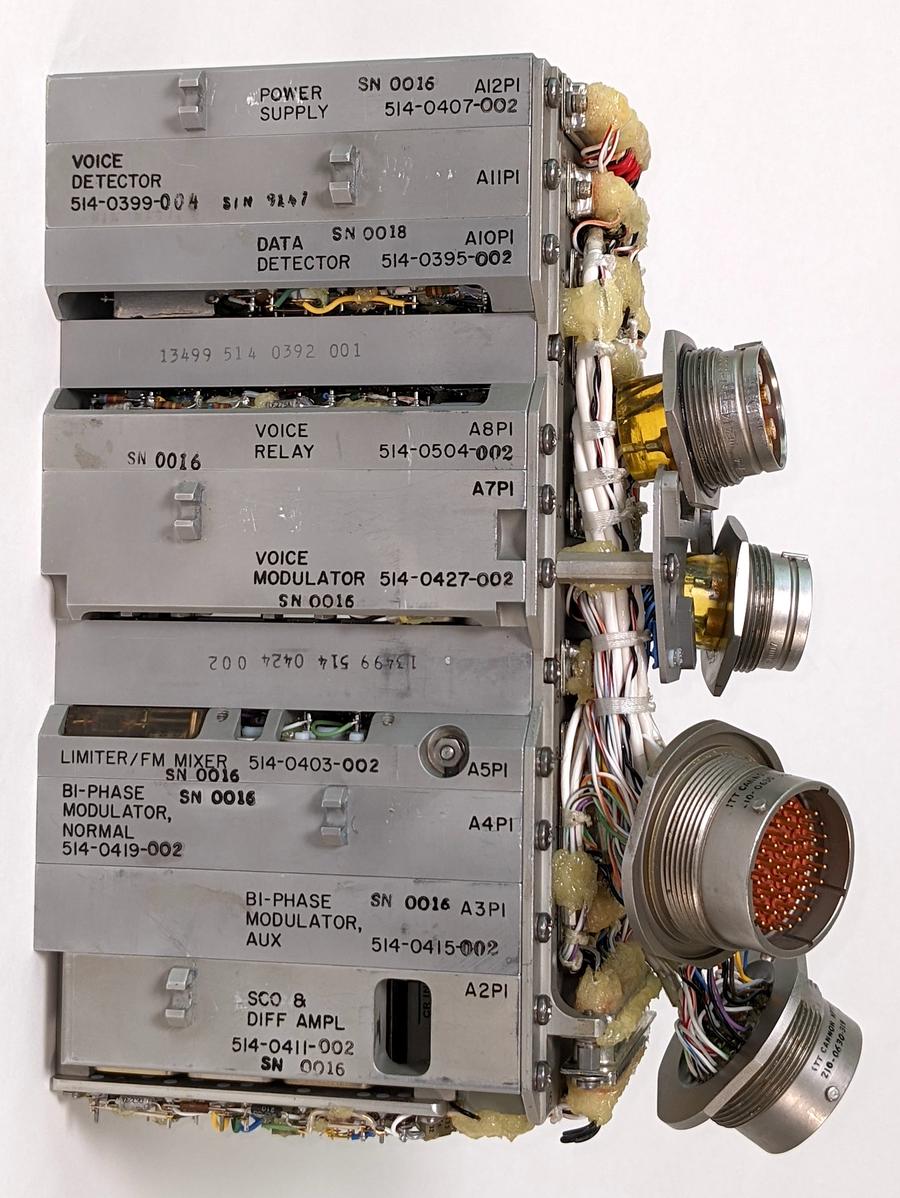
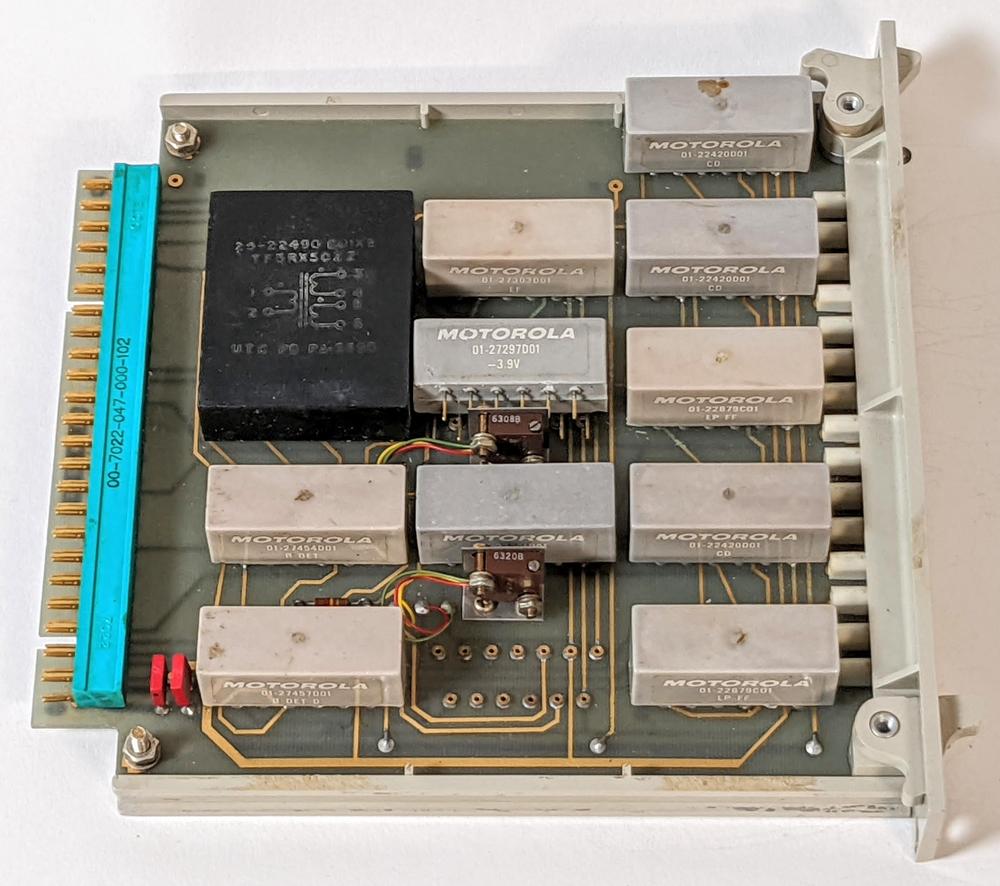
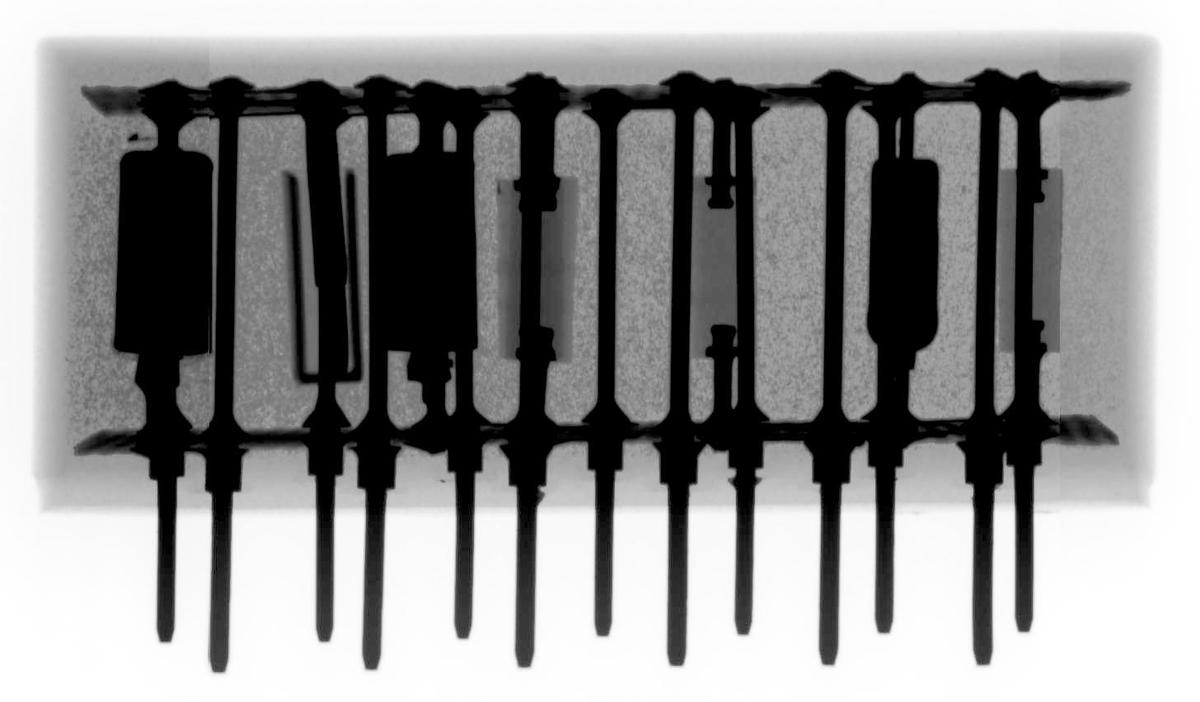
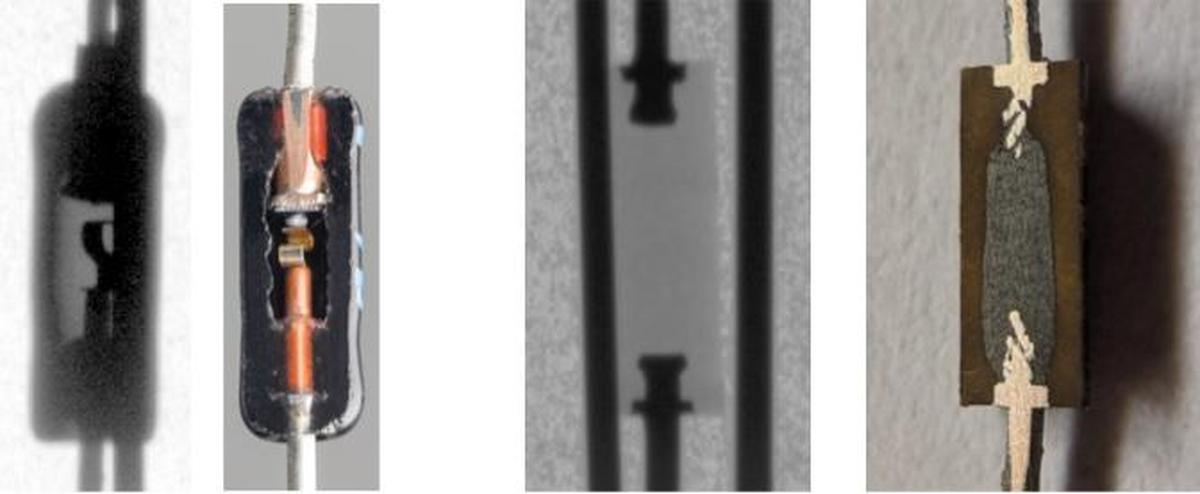
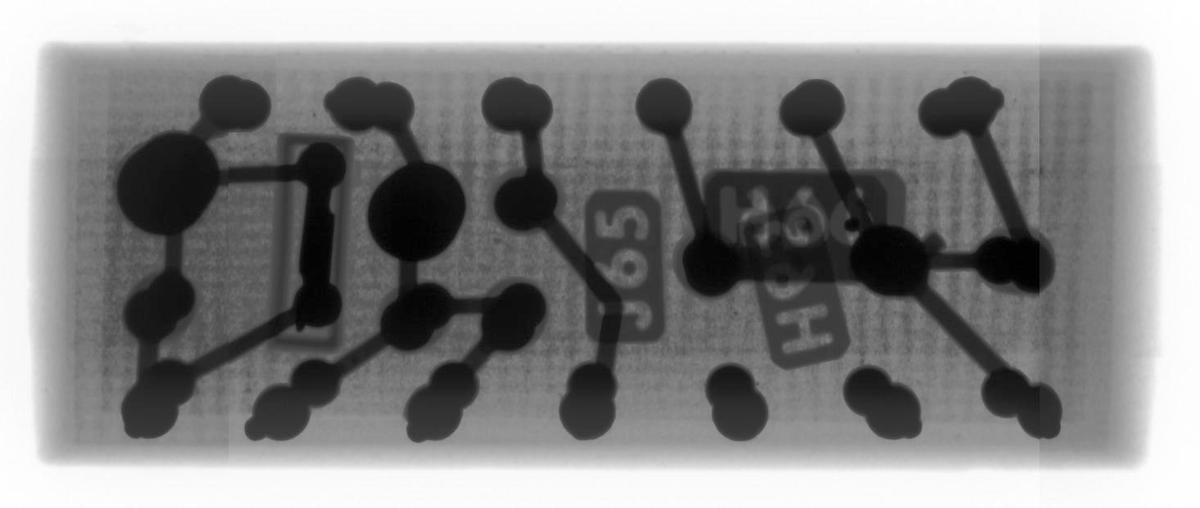
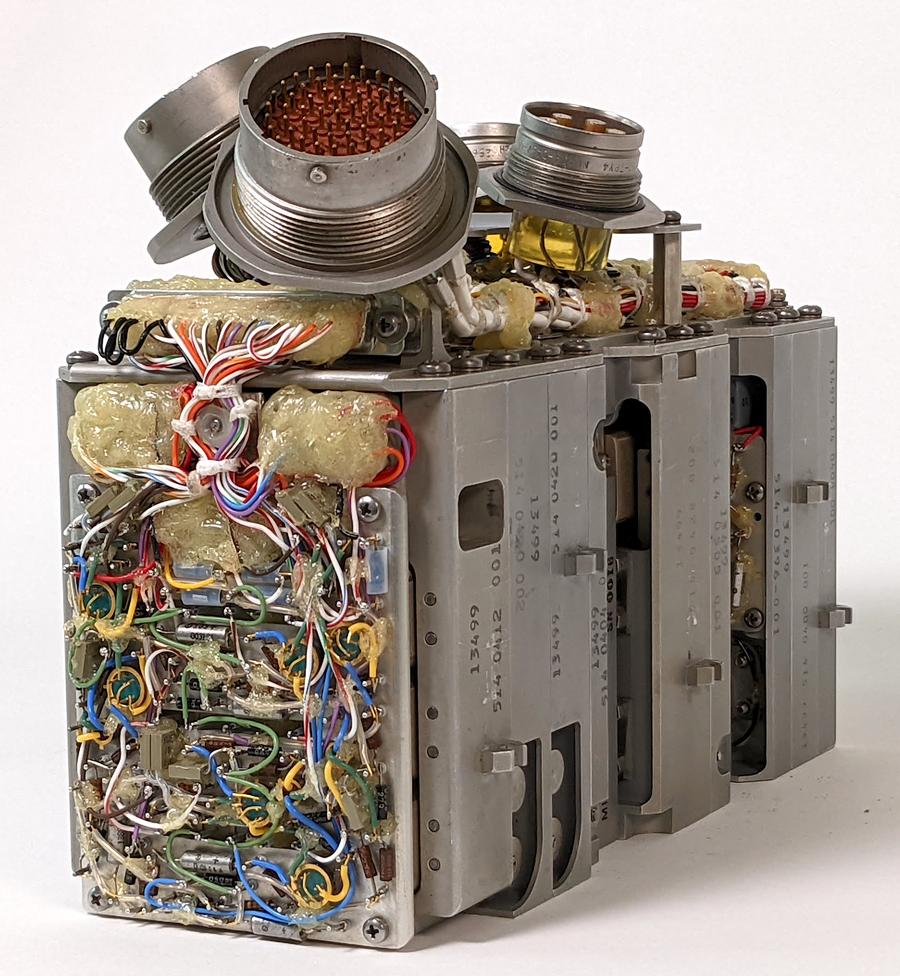
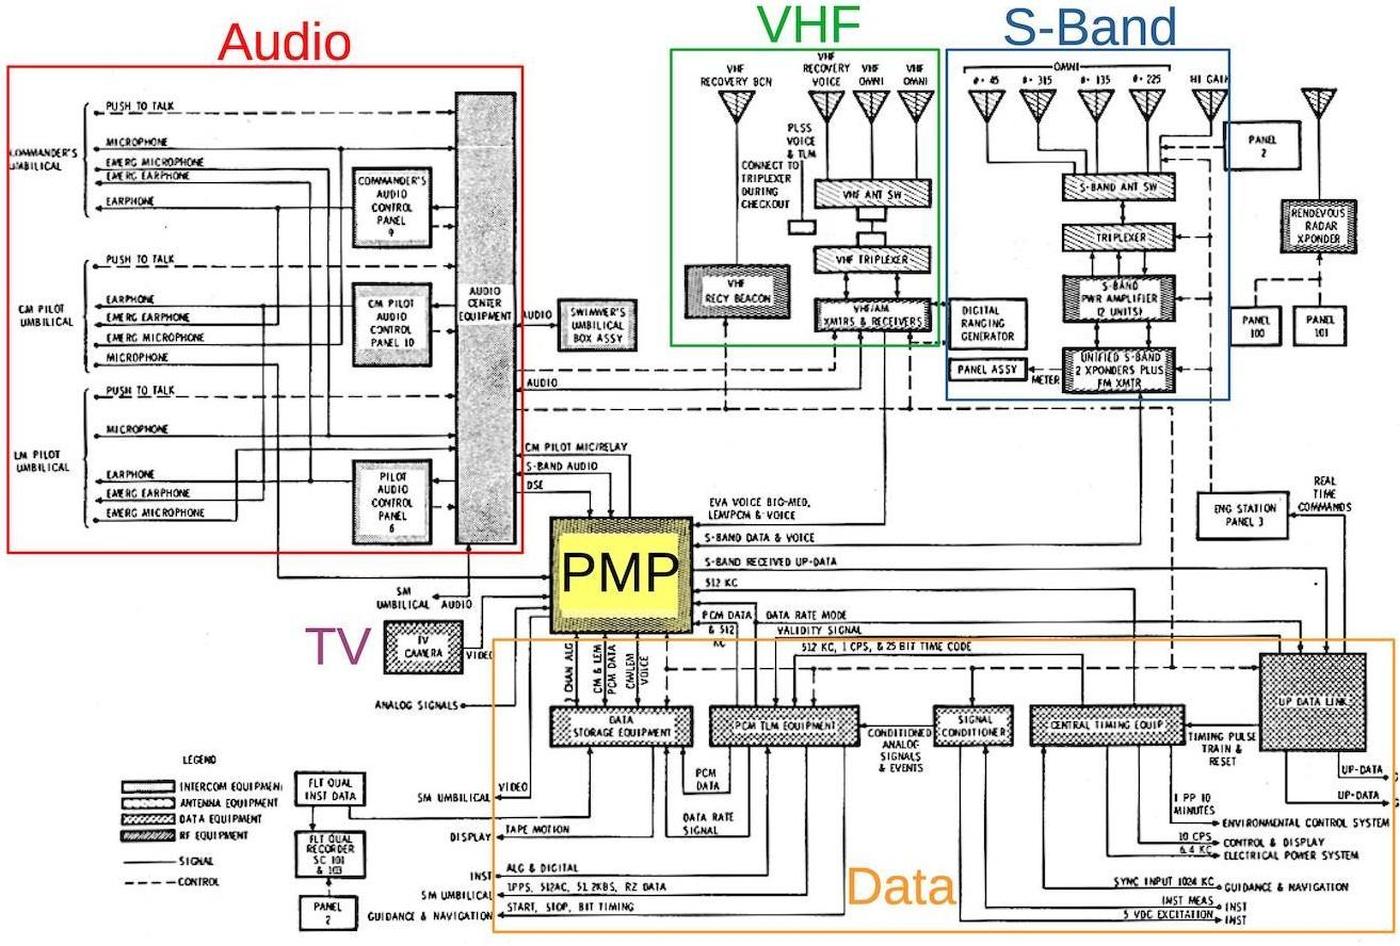
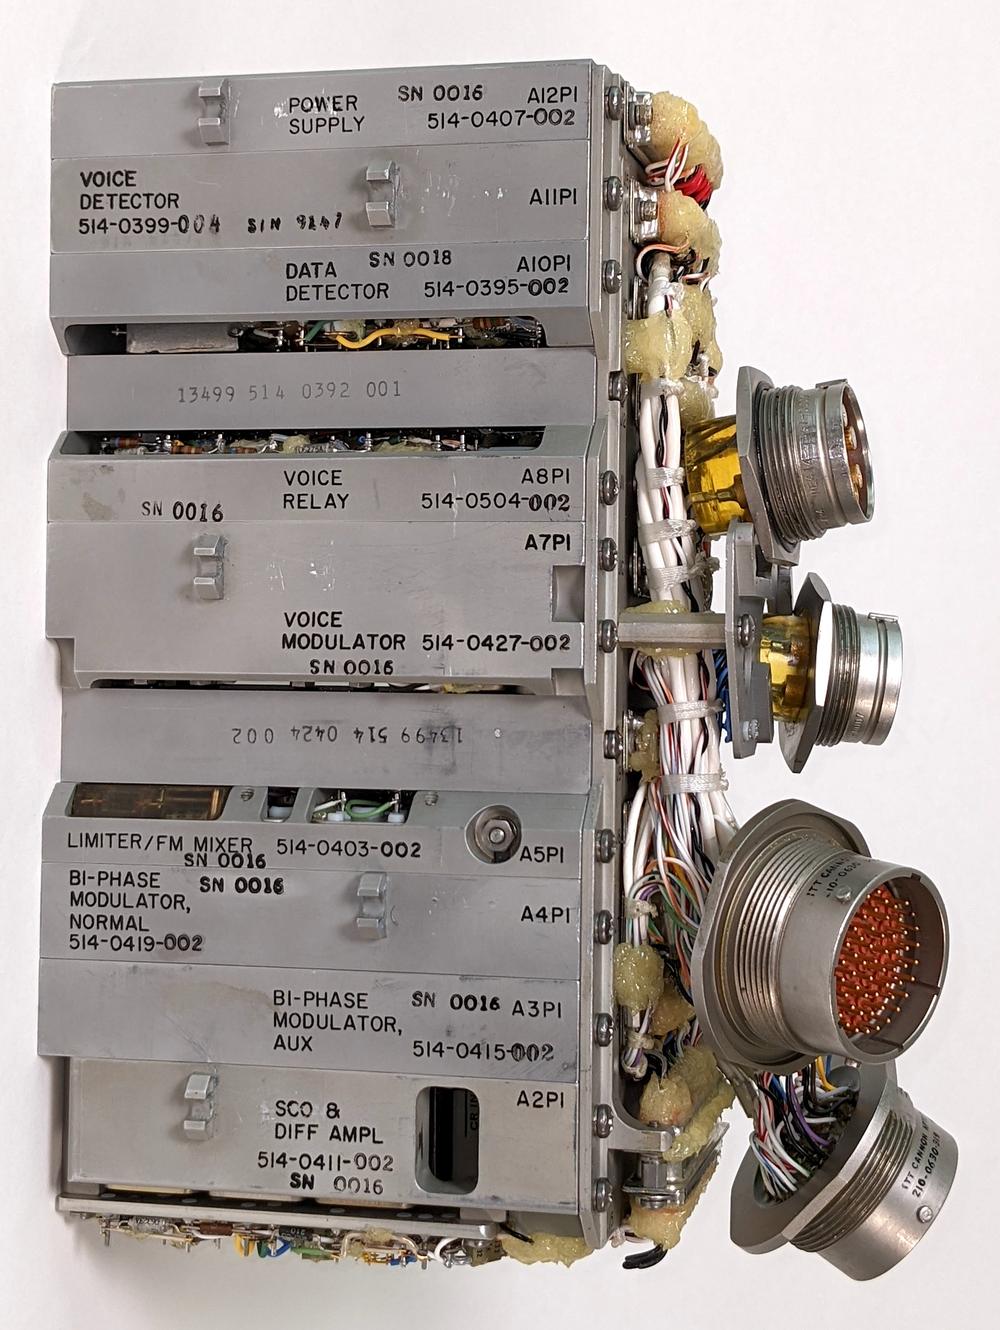
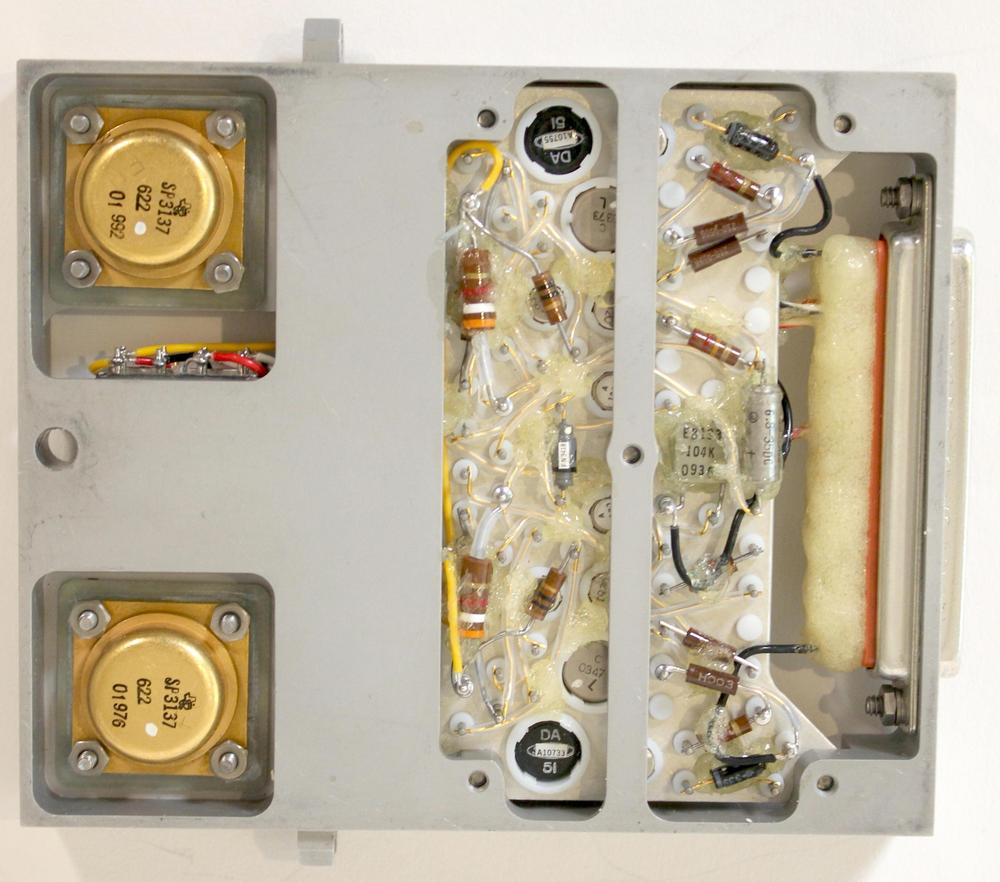
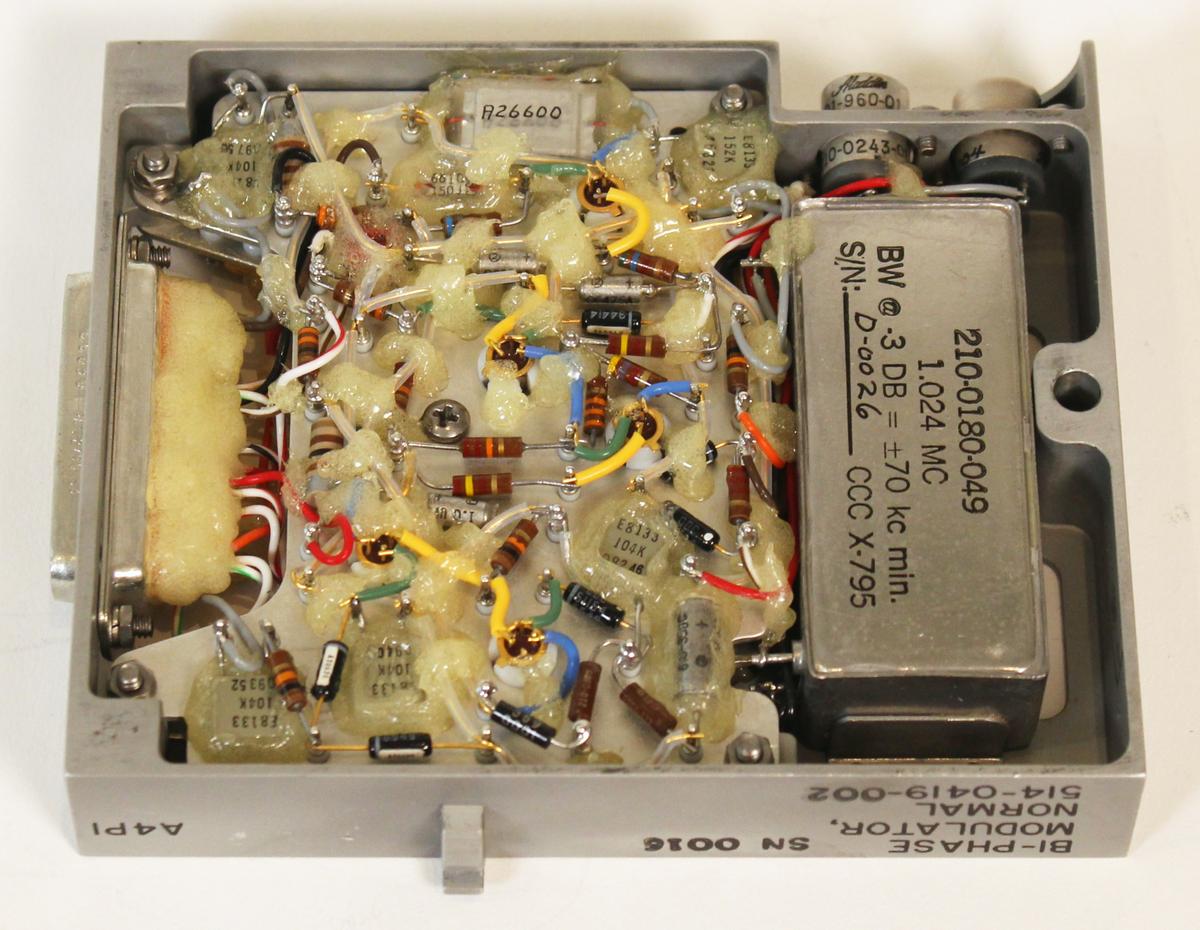
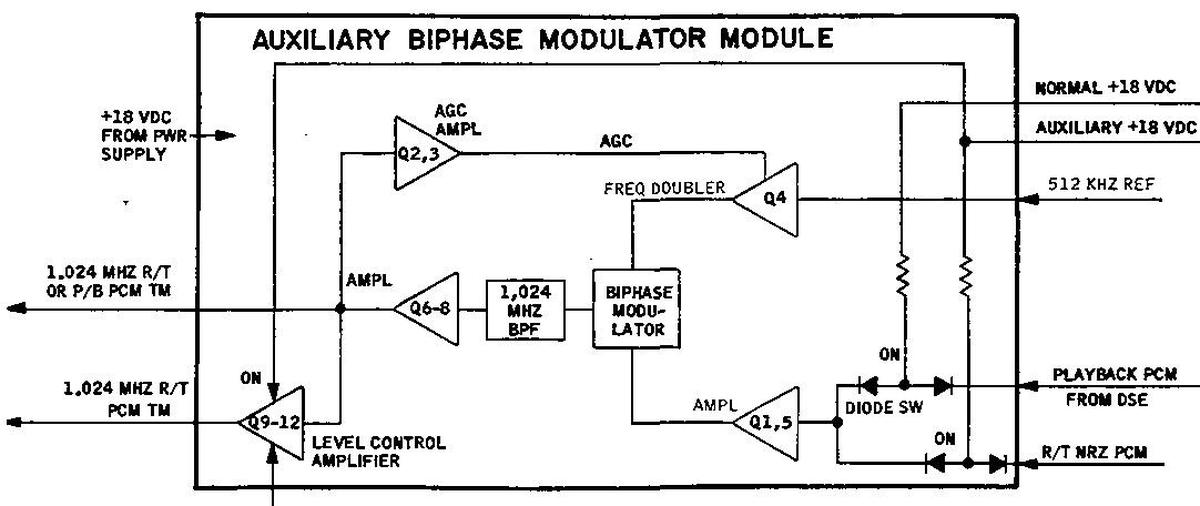
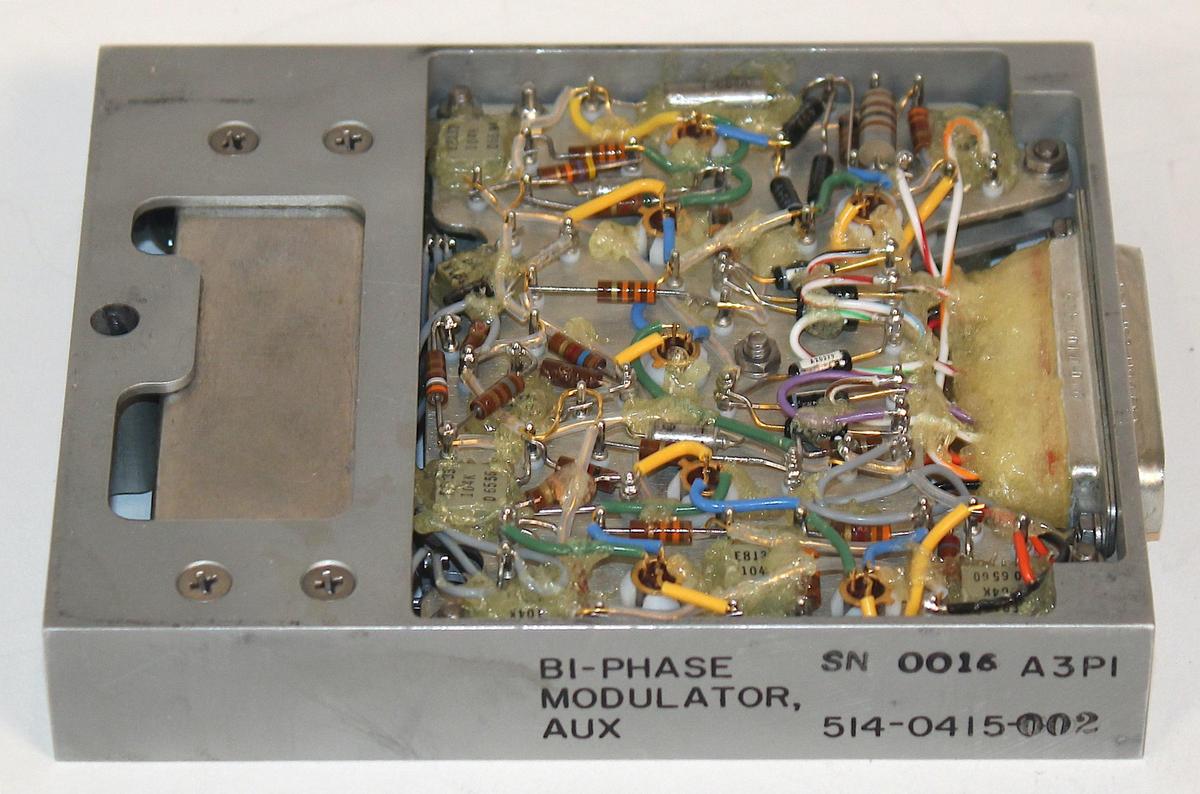
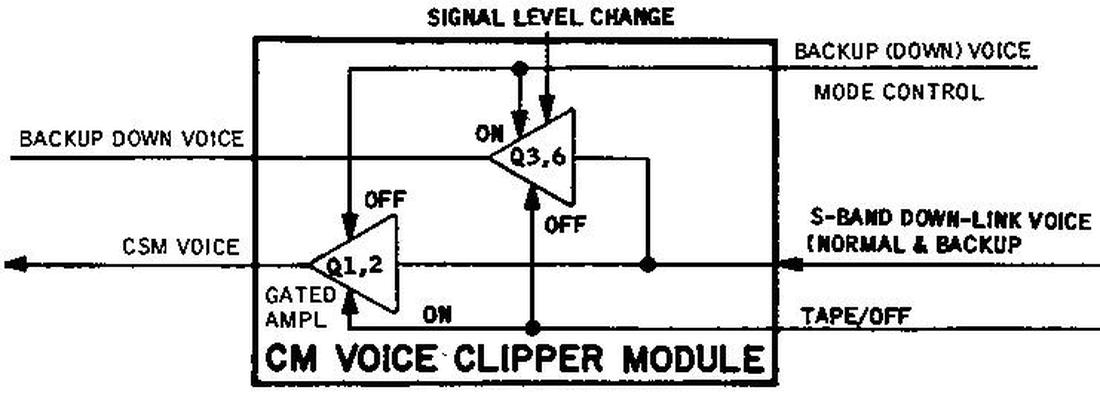
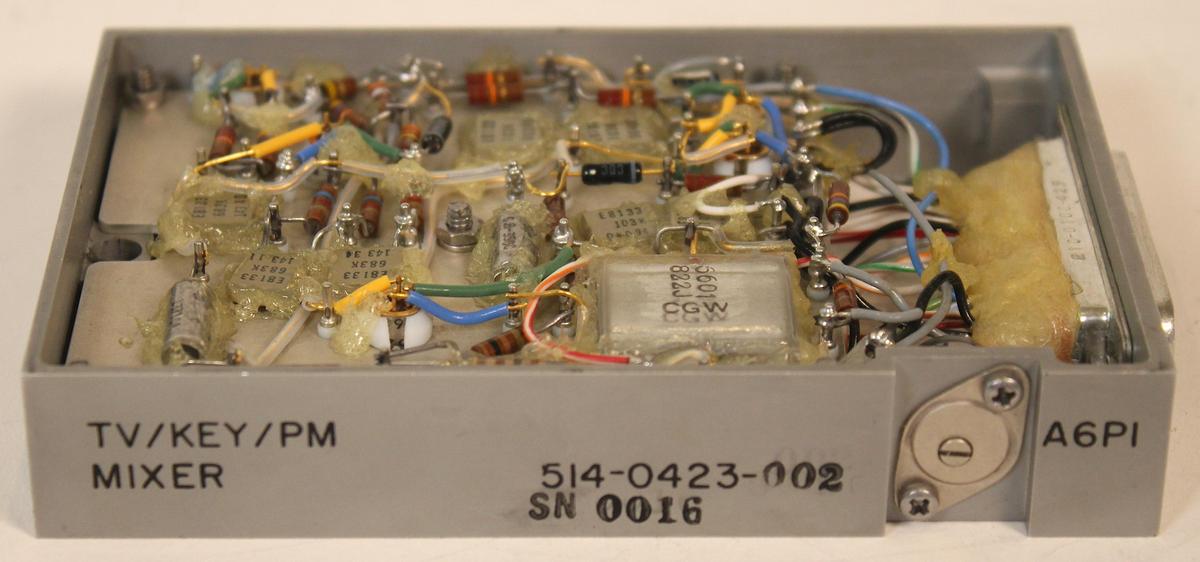
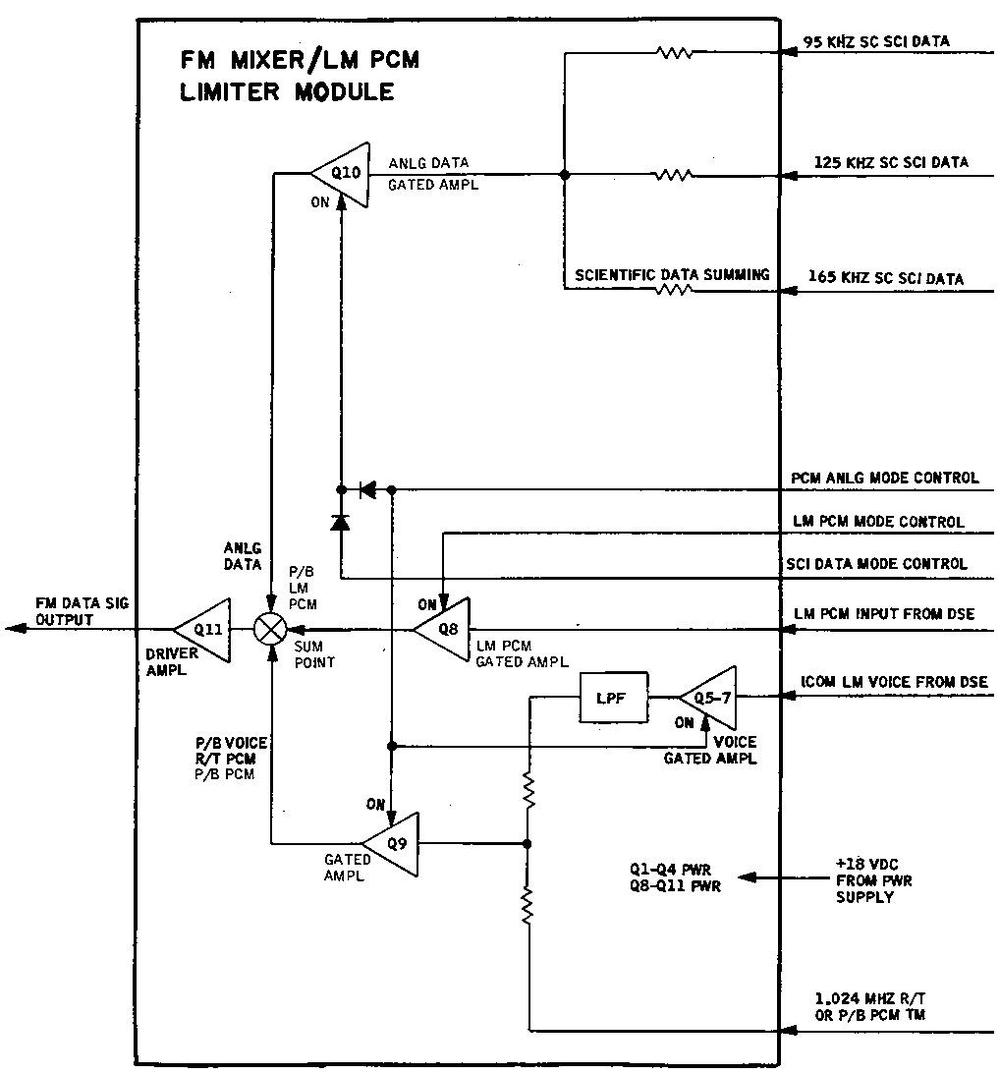
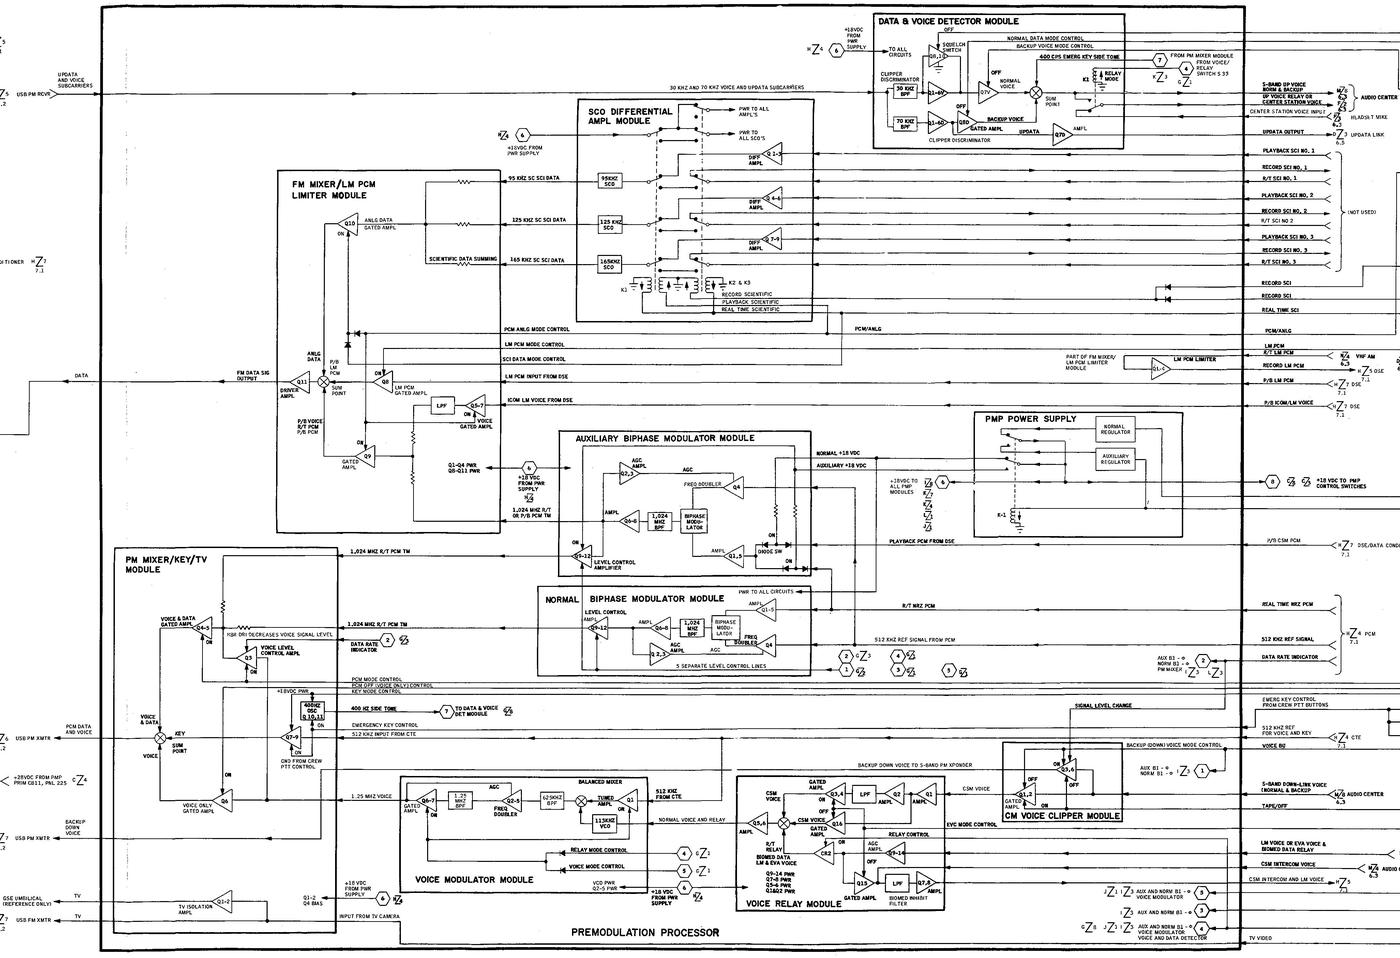
How did NASA communicate with the Apollo astronauts, hundreds of thousands of miles from Earth? The premodulation processor1 (below) was the heart of the communication system onboard the Apollo spacecraft. Its multiple functions included an FM radio for communication to the astronauts, implemented by the Voice Detector, the module second from the top. In this blog post, I reverse-engineer the circuitry for that module and explain how it worked.
The Apollo communication system was complex and full of redundancy. Most communication took place over a high-frequency radio link that supported audio, telemetry, scientific data, and television images.2 NASA's massive 85-foot dish antennas transmitted signals to the spacecraft at 2106.4 megahertz, an S-band frequency, giving the system the name "Unified S-Band". These radio signals were encoded using phase modulation;3 onboard the spacecraft, a complex box called the transponder received the S-band signal and demodulated it.4
The voice and data signals from Earth were combined through a second layer of modulation: voice was frequency-modulated (FM) onto a 30-kilohertz subcarrier while data was on a 70-kilohertz subcarrier, so the two signals wouldn't conflict.5 One of the tasks of the premodulation processor was to extract the voice and data signals from the transponder's output. These voice signals went to yet another box, the Audio Center Equipment, so the astronauts could hear the messages from the ground. The data signals were decoded by the Up-Data Link, allowing NASA to send commands to the Apollo Guidance Computer, control onboard relays, or set the spacecraft's clock.
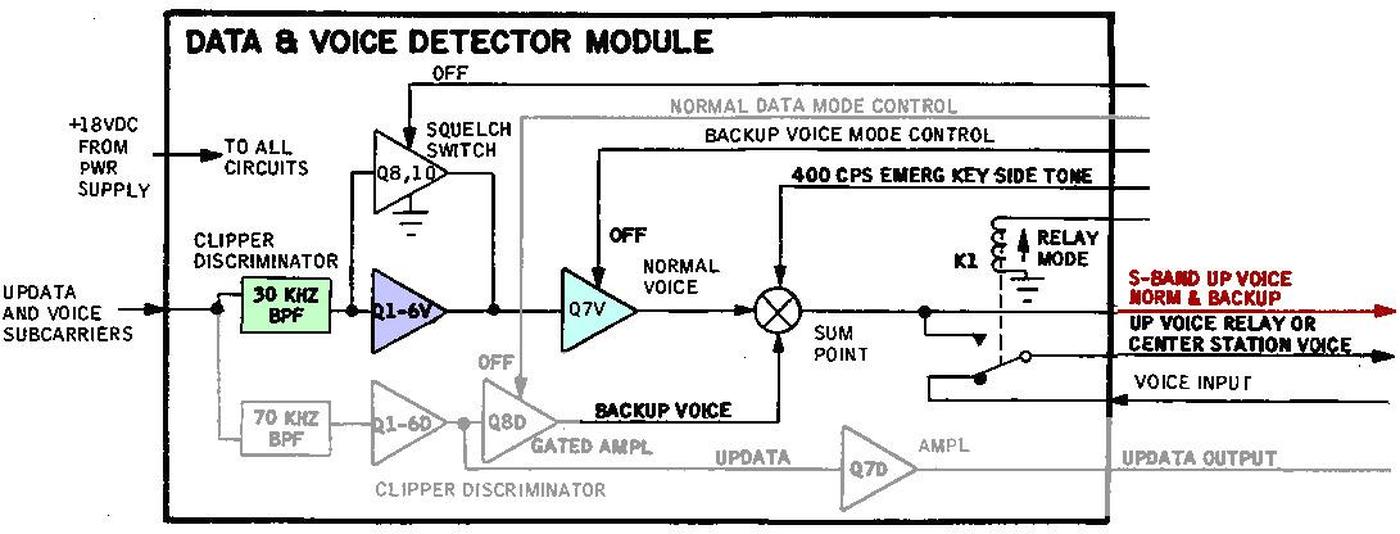
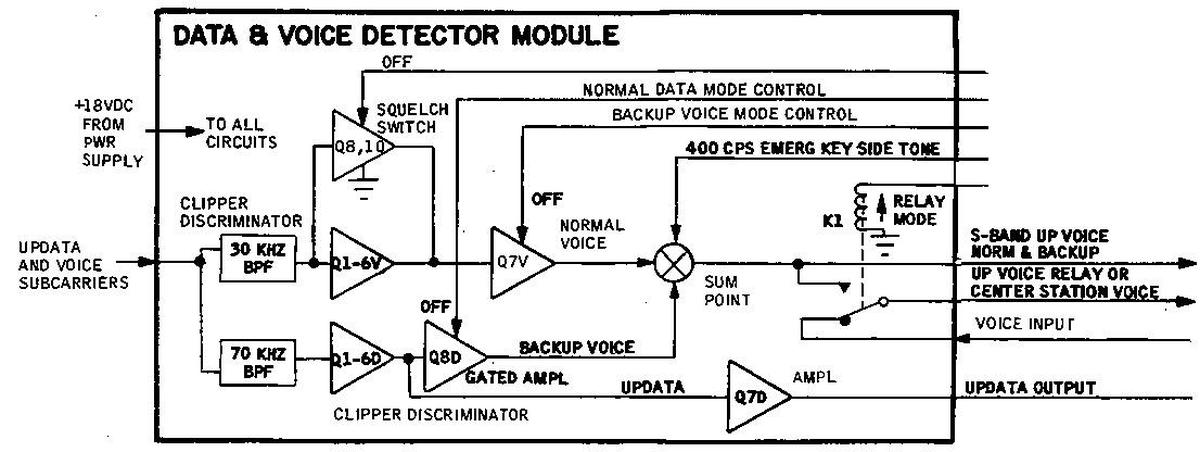
Many systems worked together for communication, but I'm focusing on a single module: the voice detector inside the premodulation processor that performed the FM demodulation. The block diagram below shows the operation of the voice detector; I've grayed out the data detector.6 The input contains the voice signal and the data signal at different frequencies; a band-pass filter (green) separates out the voice signal at 30 kilohertz. Next, the blue triangle7 demodulates the FM signal using a "clipper discriminator" circuit. The cyan triangle is an amplifier, producing the "up voice" output signal (red), so-called because it had been transmitted "up" from a ground station. I'll explain this circuitry in detail below.
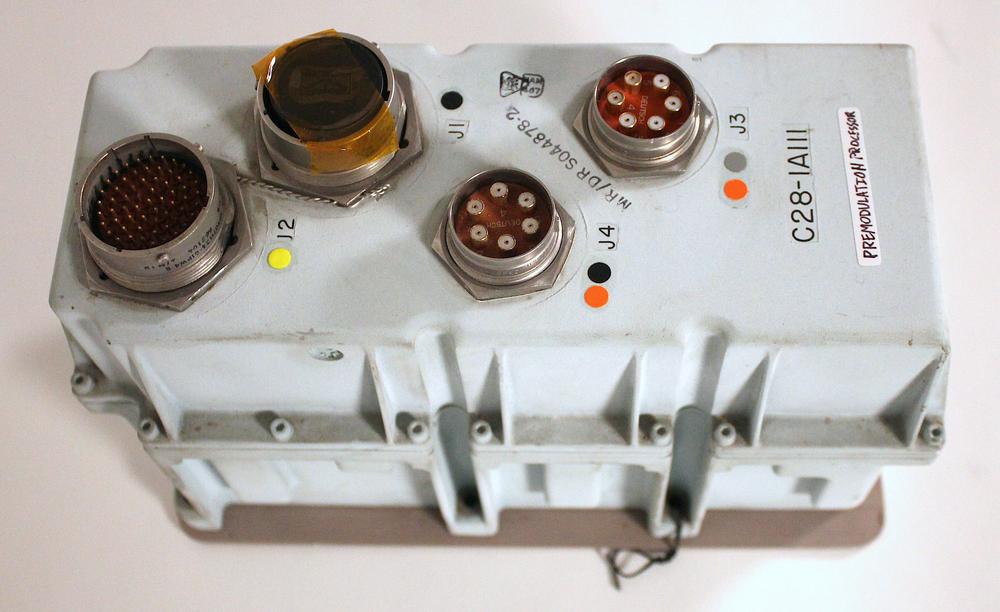
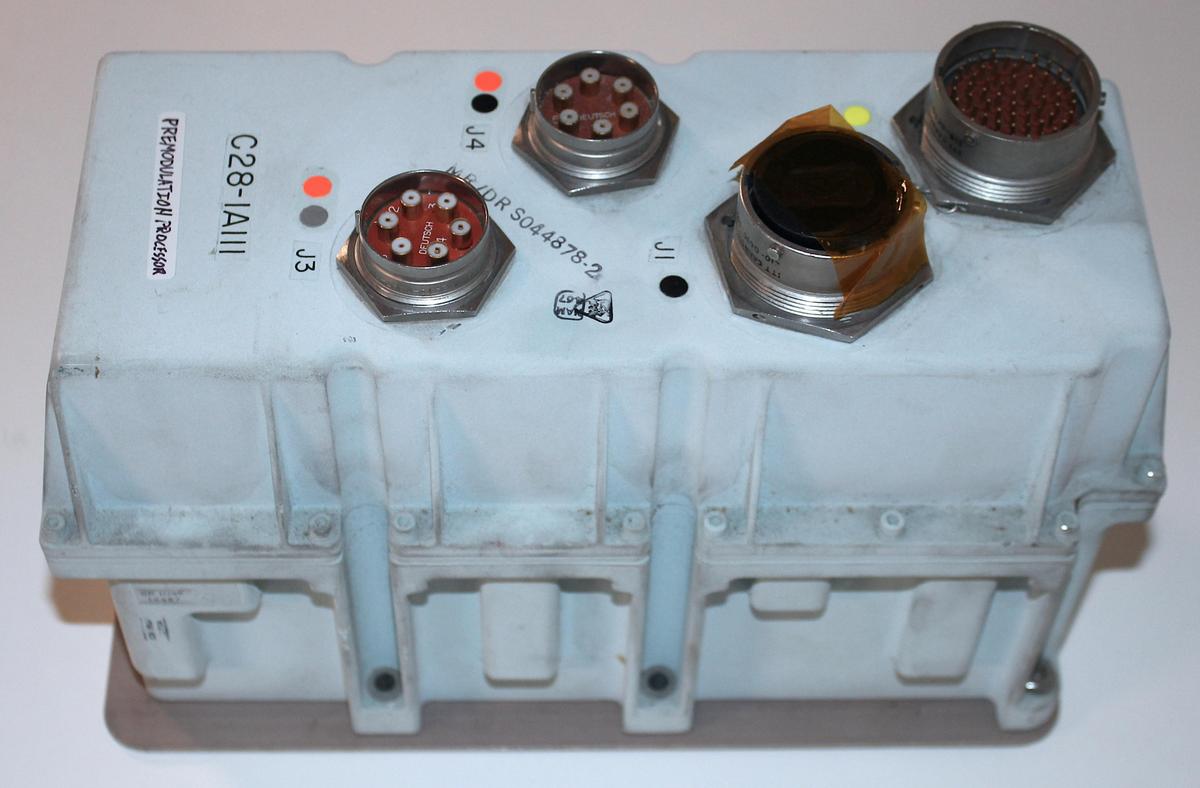
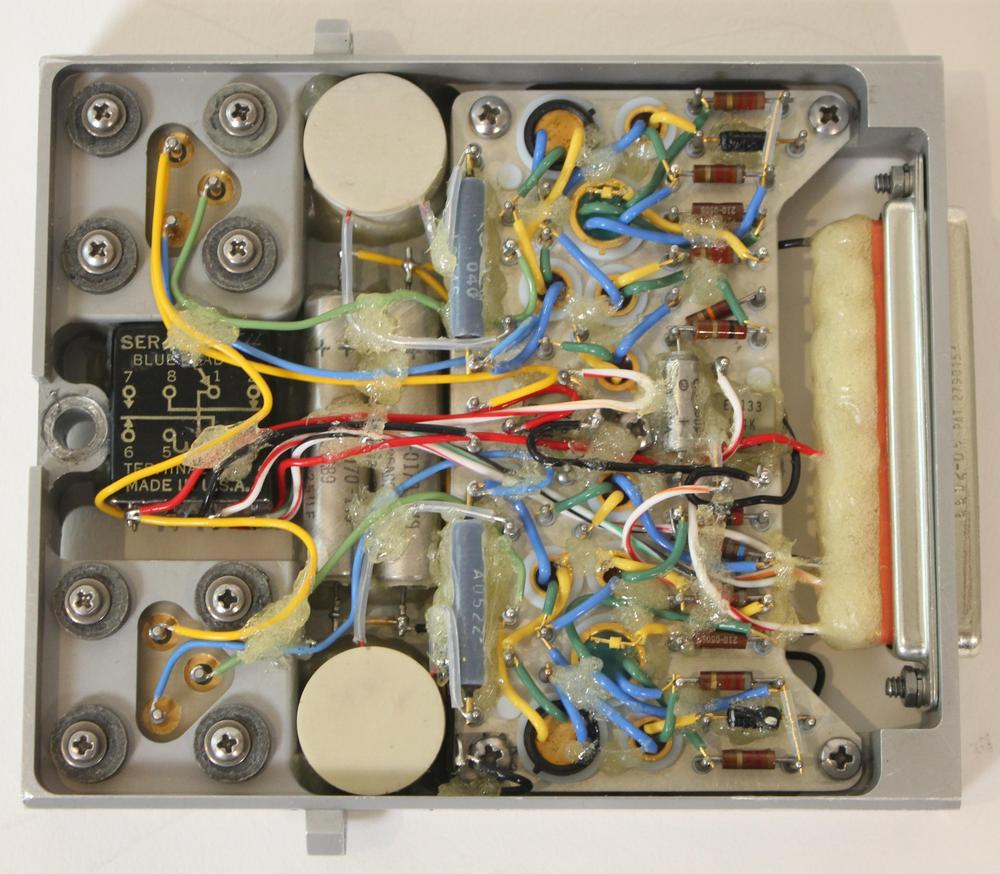
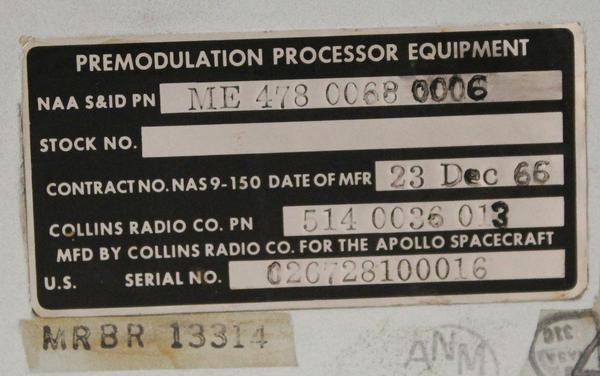
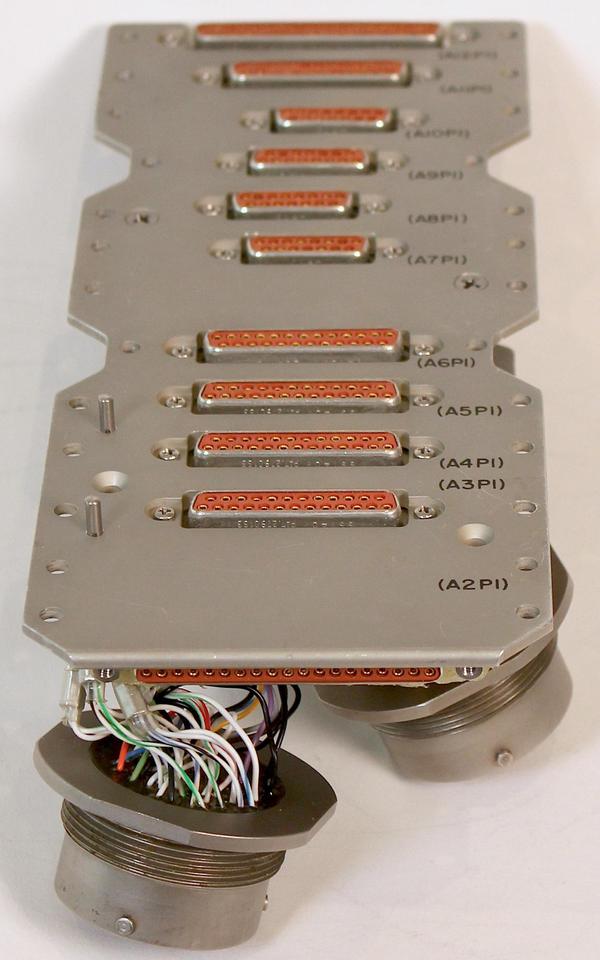
The photo below shows the premodulation processor in its case.1 The premodulation processor (PMP) weighs 14.5 pounds and measures 4.7"×6"×10.5". It used 8.5 watts of power, supplied at 28 volts DC from the spacecraft's hydrogen/oxygen fuel cells or silver-oxide zinc batteries. The PMP was mounted in the Command Module's equipment bay, along with most of the electronic equipment.8 It was fastened to a "cold plate", cooled by water-glycol loops that removed heat through radiators and water evaporators.
Construction
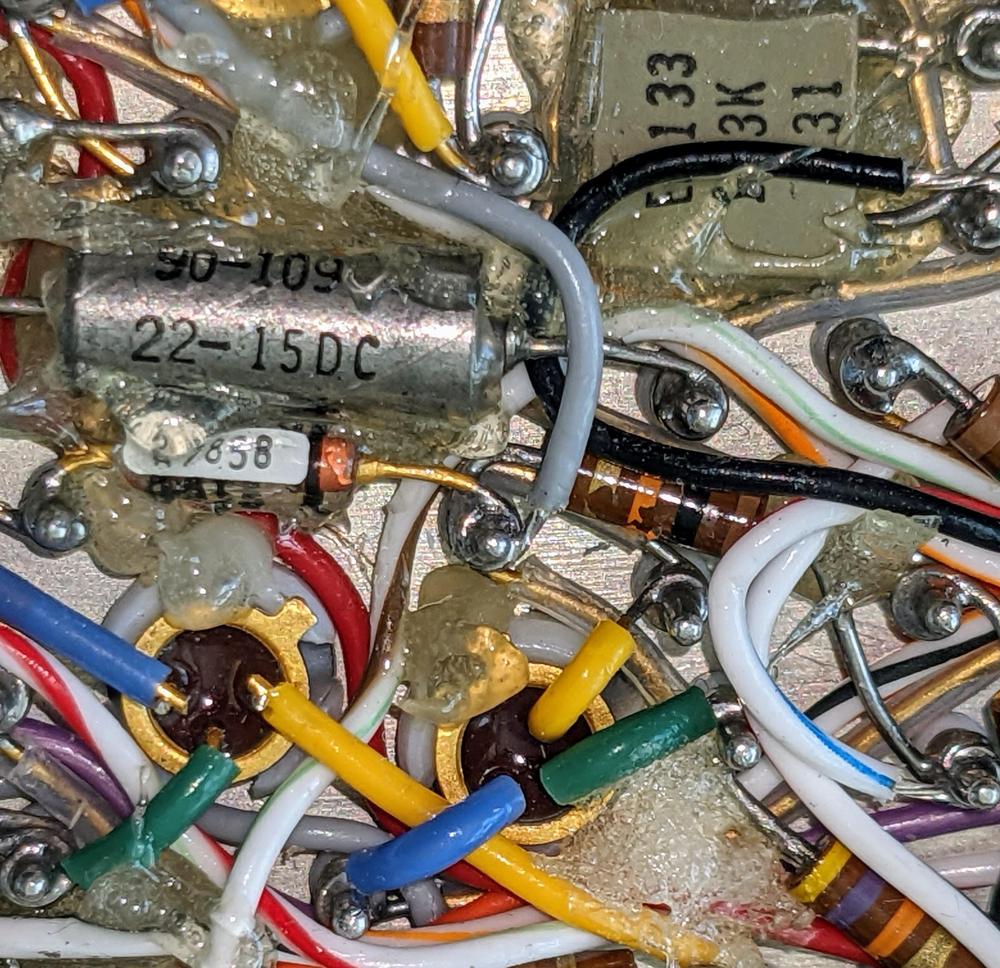
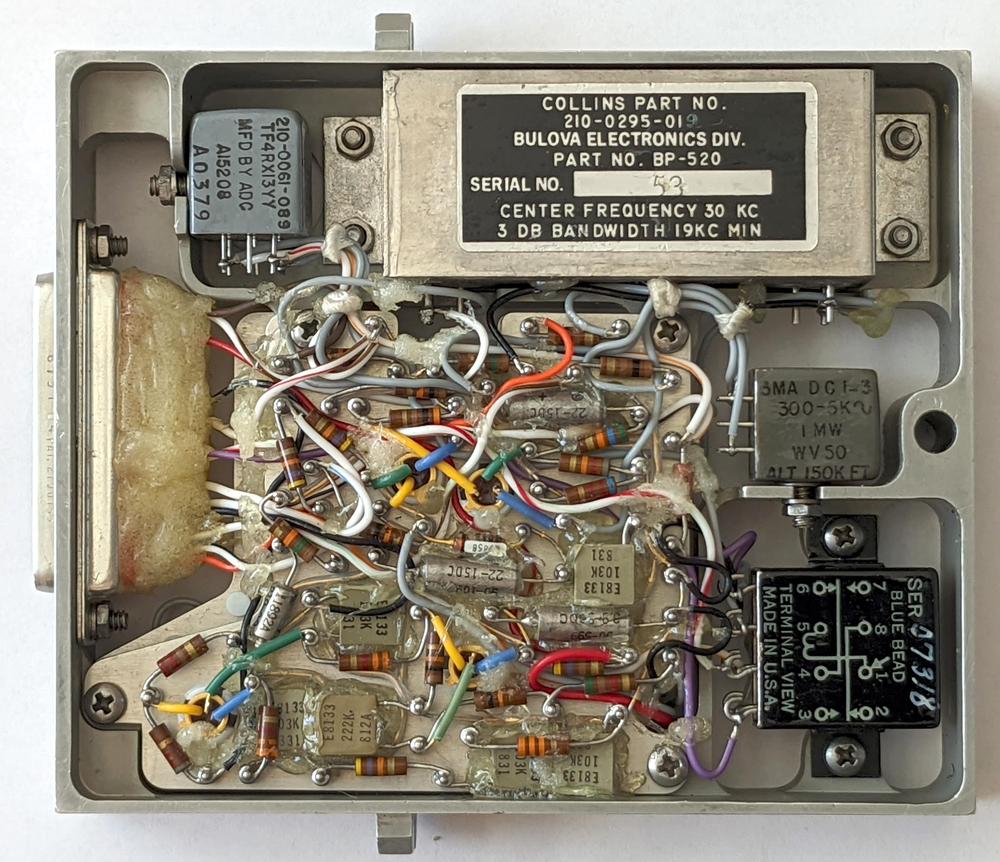
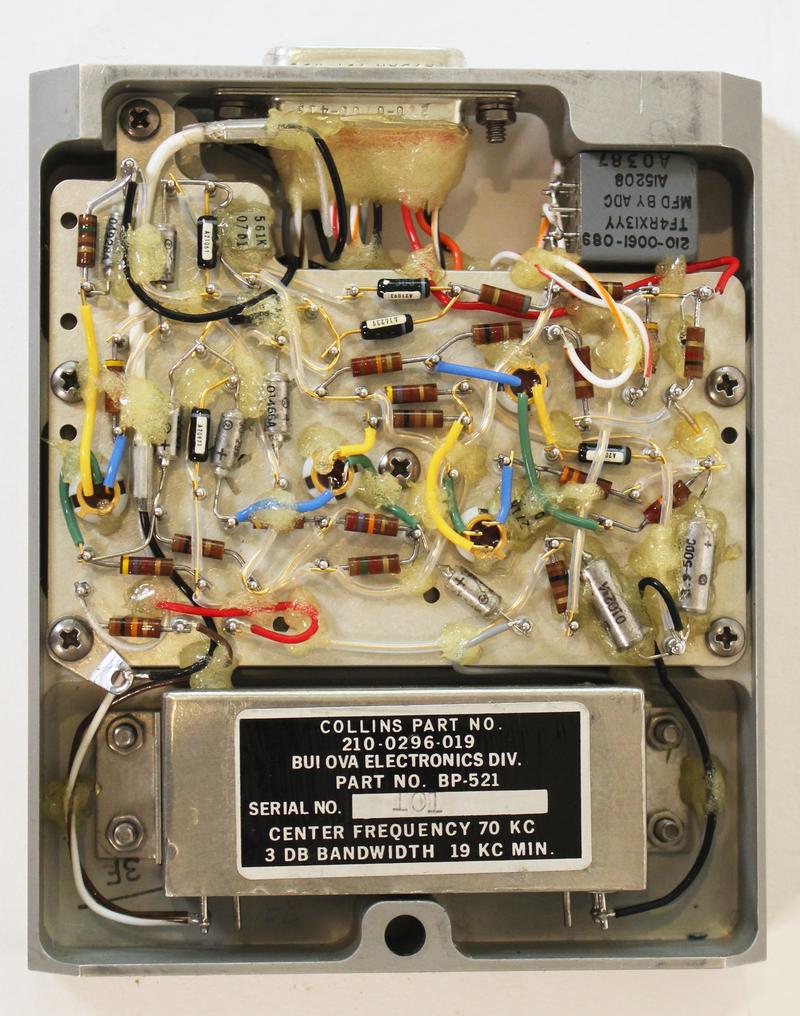
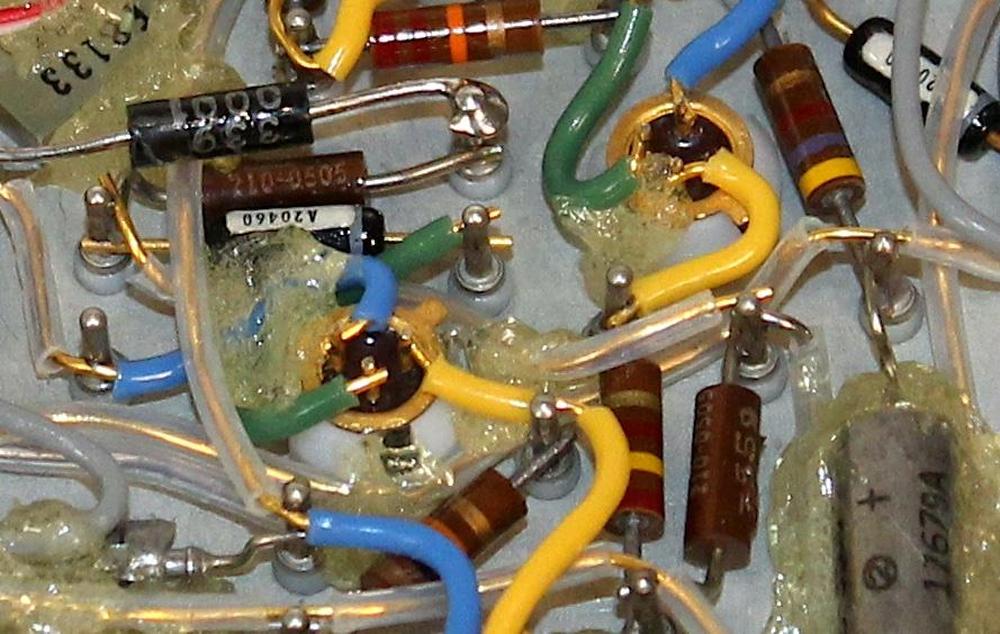
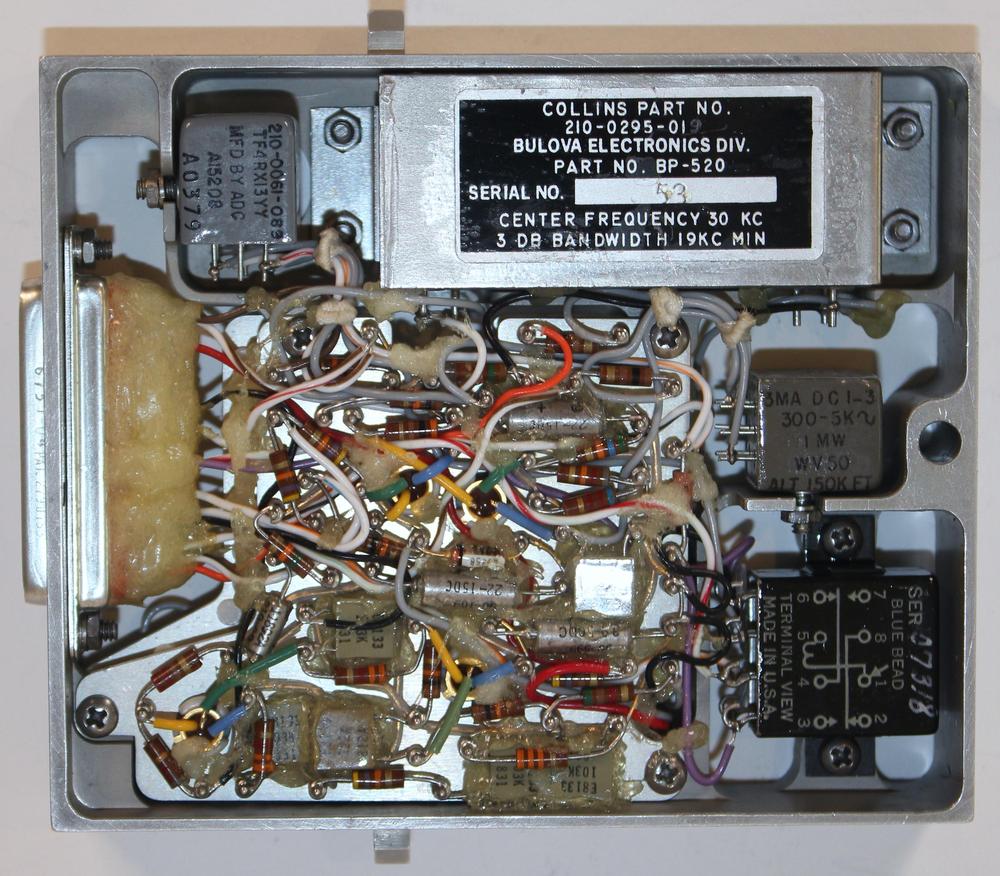
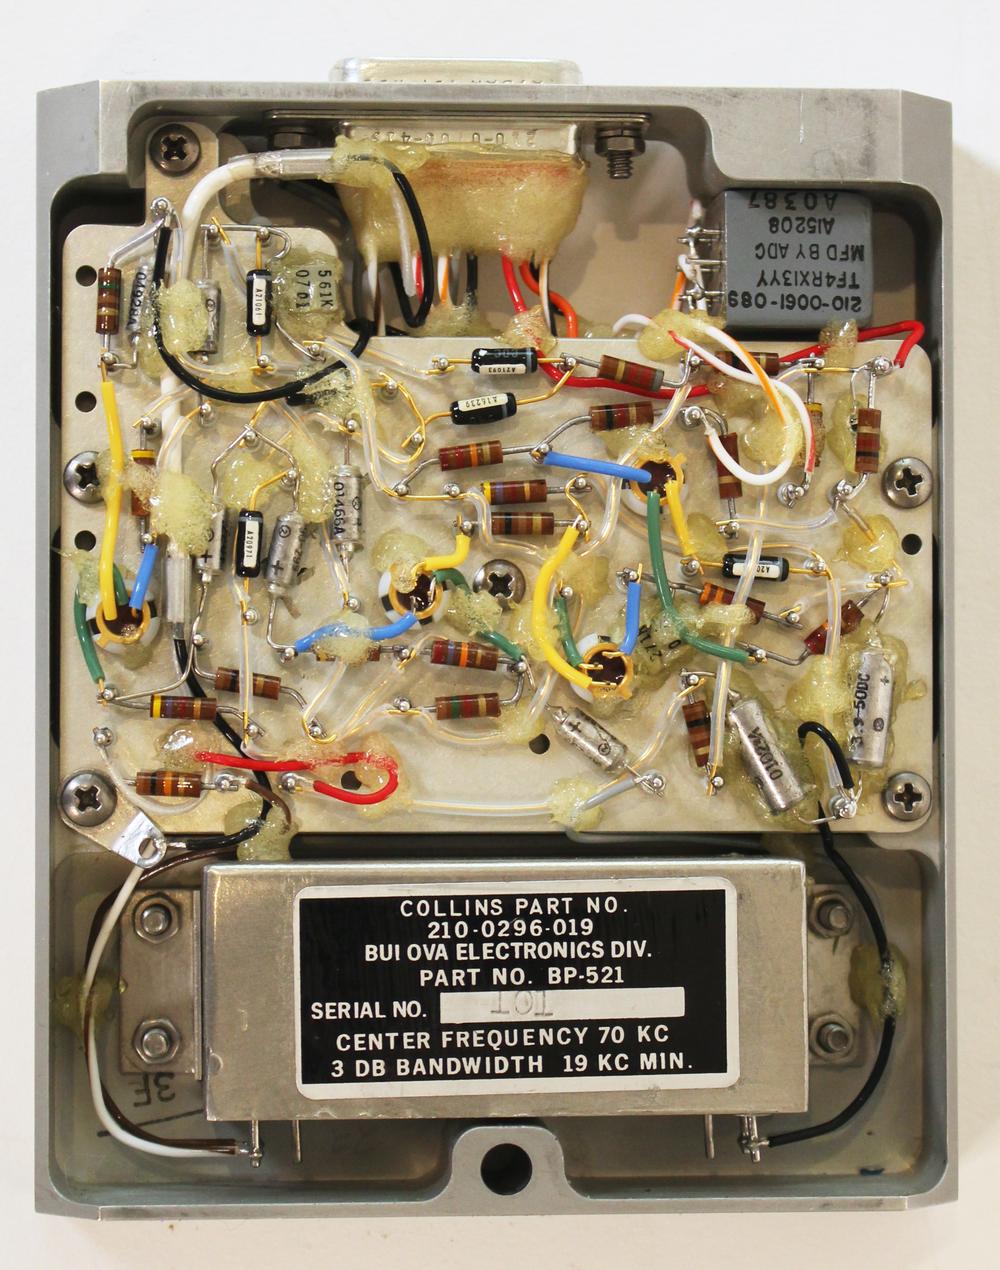
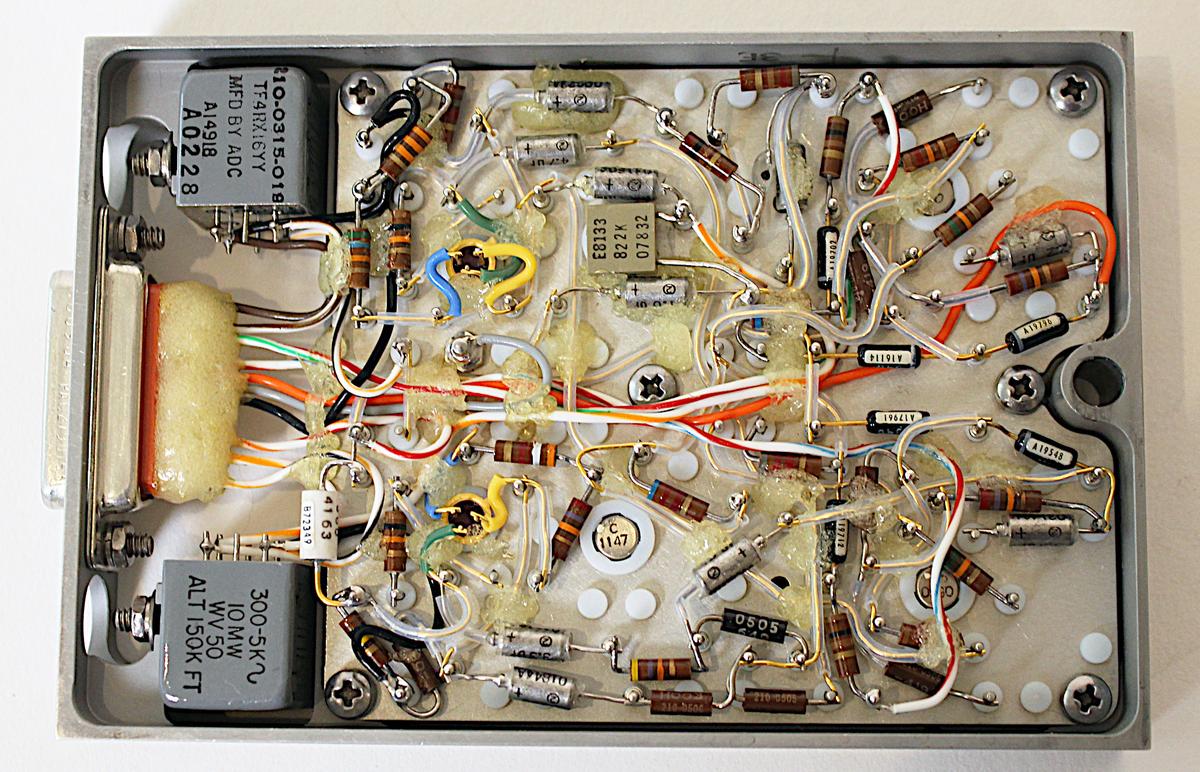
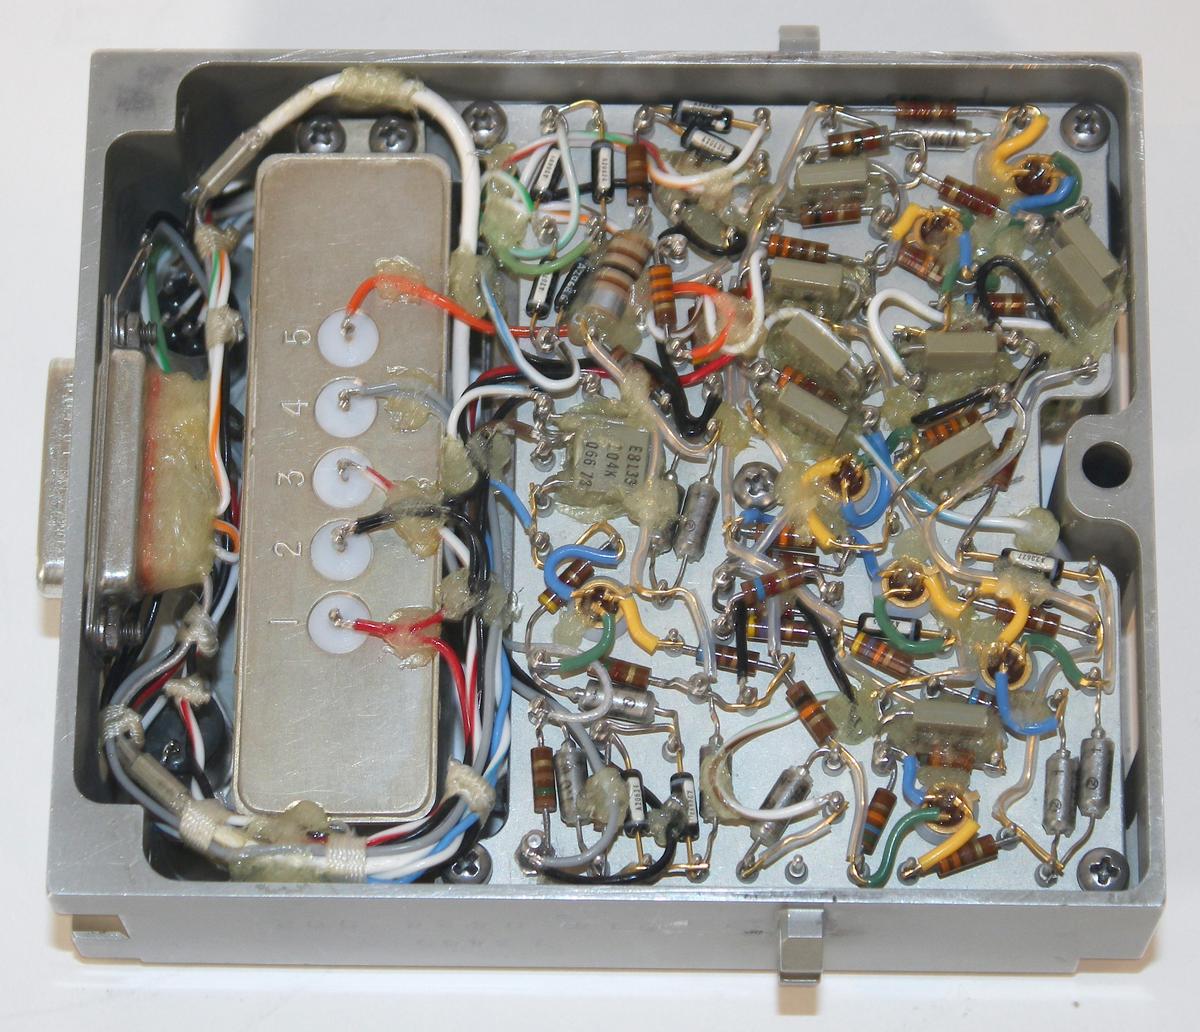
The modules in the premodulation processor don't use printed-circuit boards, but instead are built from components that are soldered to metal pegs, forming a messy jumble of wiring. The circular transistors are mounted upside down with color-coded wiring: yellow for the emitter, green for the base, and blue for the collector. Capacitors are silver cylinders or gray squares, while the orange striped cylinder is a diode. The resistors have colored stripes, indicating their values. Point-to-point wiring provided additional connections, a mixture of color-coded insulated wires, bare wires, and wires in clear sleeves.
Since the components and wiring are visible, it seemed like these modules should be easy to reverse-engineer, but it's trickier than it seems. The components are liberally covered in what looks like hot glue but is probably silicone. (I suspect that this was only used in equipment for ground testing, while modules for spaceflight were fully encapsulated to prevent short circuits.) Much of the wiring is obscured, so I had to beep out many of the connections with a multimeter. As a result, my reverse-engineering probably has a few errors.
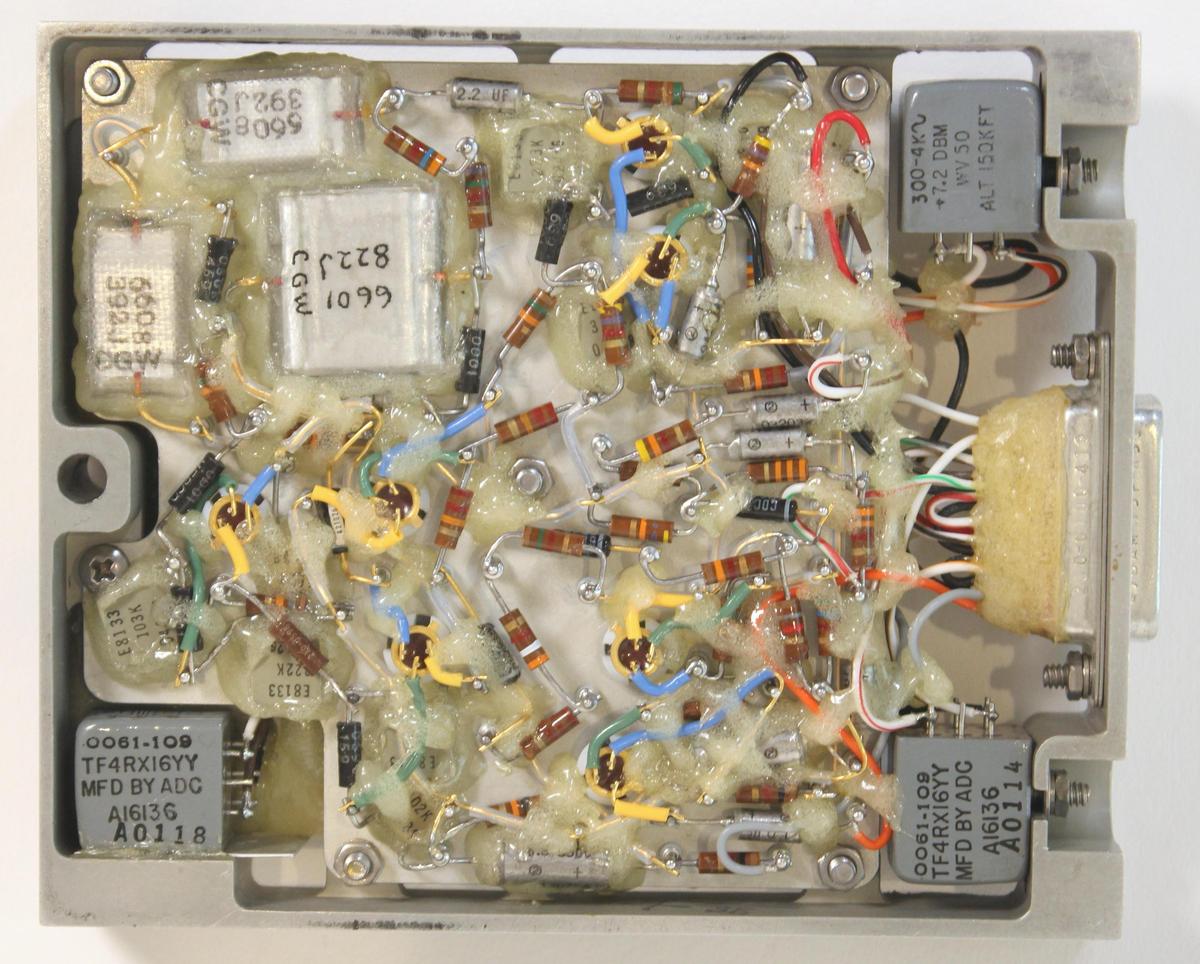
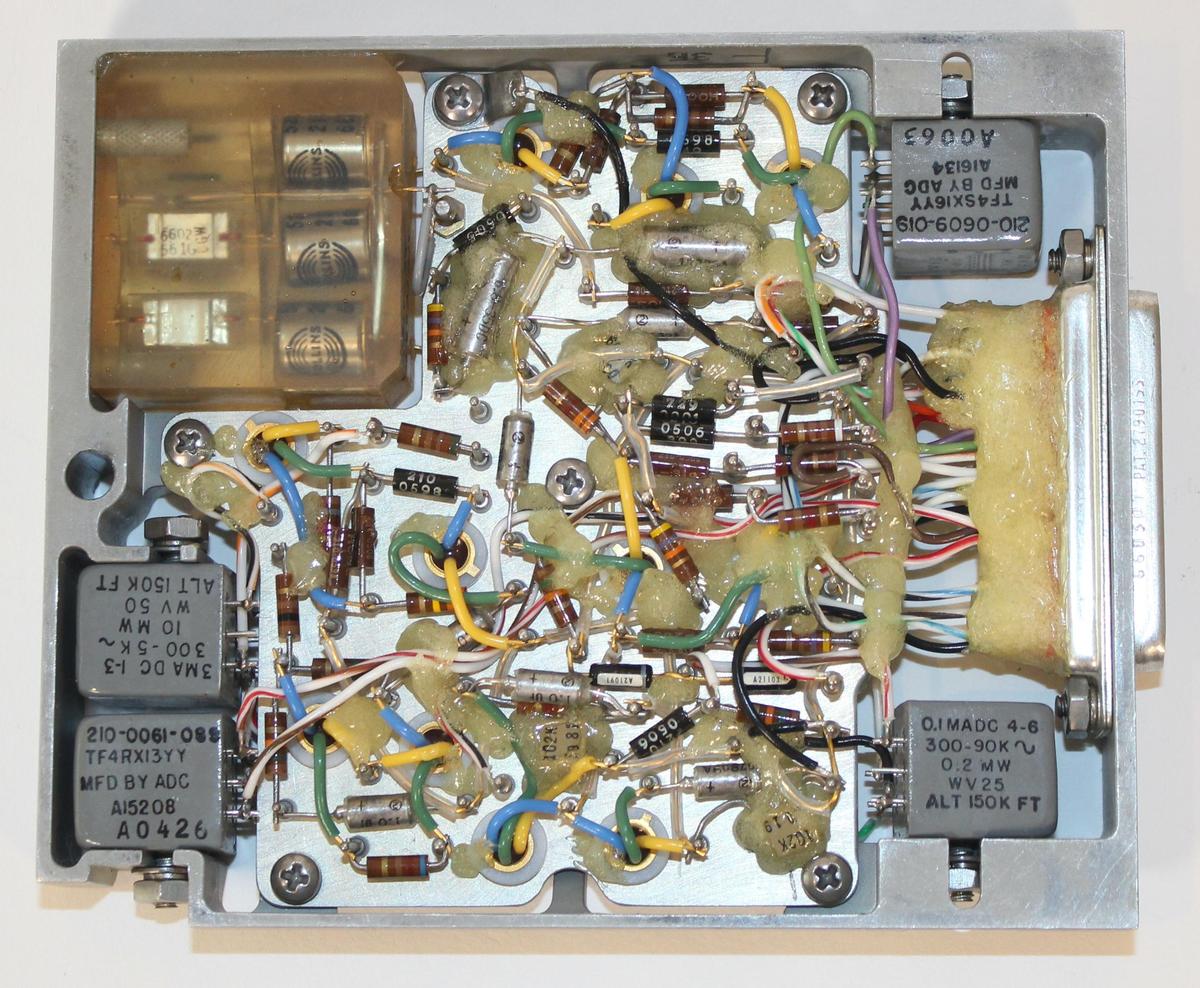
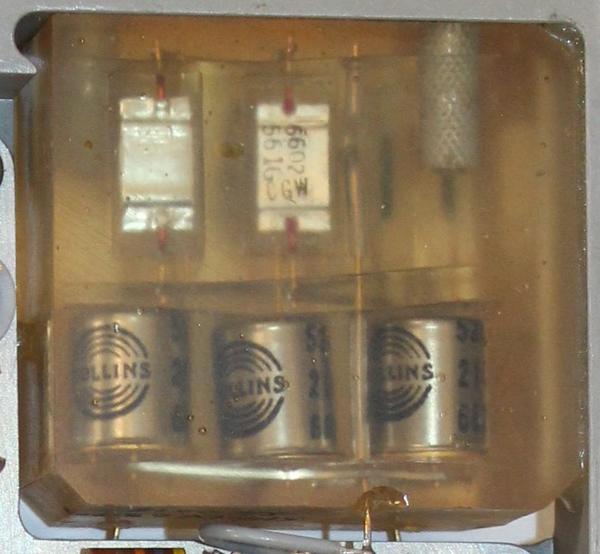
The modules have circuitry on both sides, which increased the density. The photo below shows the top side of the module. This module includes a few larger components that are mounted directly to the chassis, rather than to the circuit board. The large metal box at the top is the bandpass filter, built by Bulova Electronics, a division of the watch company that produced quartz crystals, oscillators, filters, servo amplifiers, and other components. This bandpass filter was built for Collins Radio, the manufacturer of the premodulation processor, and presumably contains a quartz filter, selecting the voice sub-band at 30 kilohertz and rejecting other frequencies. At the lower right is a smaller black box, an electromechanical relay that switched signals. The two grayish boxes are audio transformers to couple the module's output signals. The connector at the left has its wiring completely covered in silicone, inconvenient for reverse engineering.
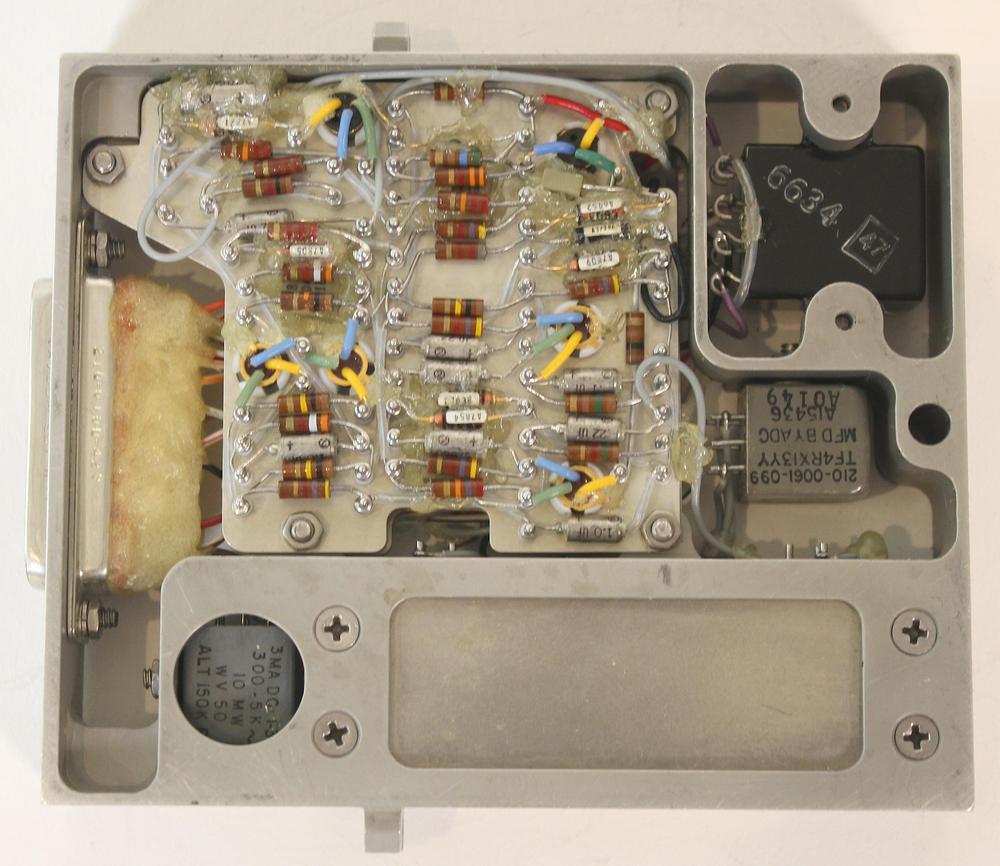
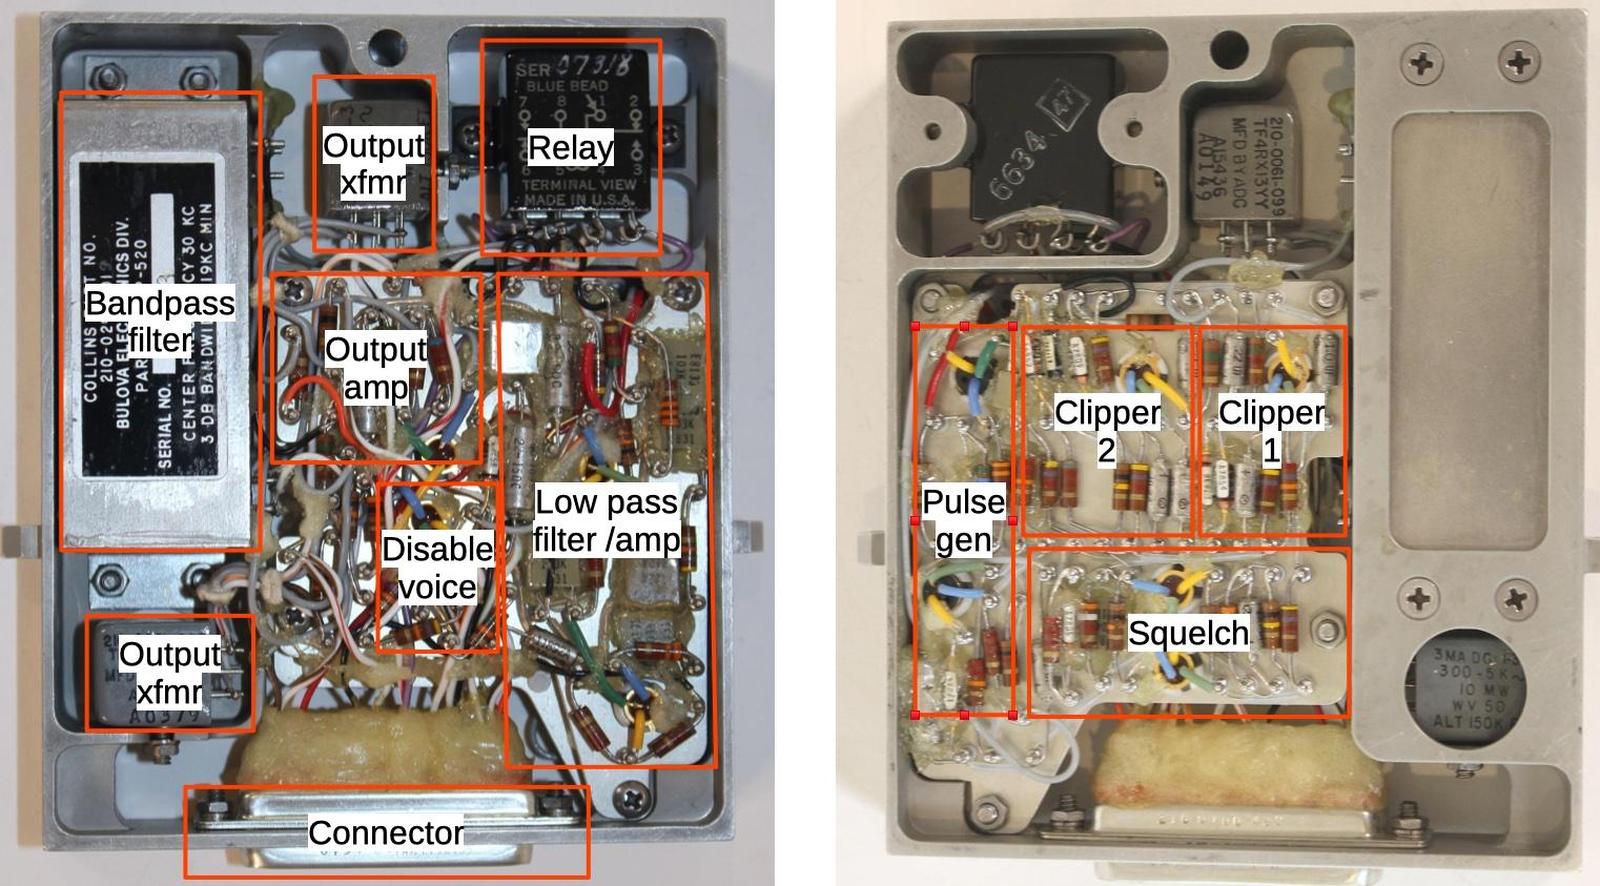
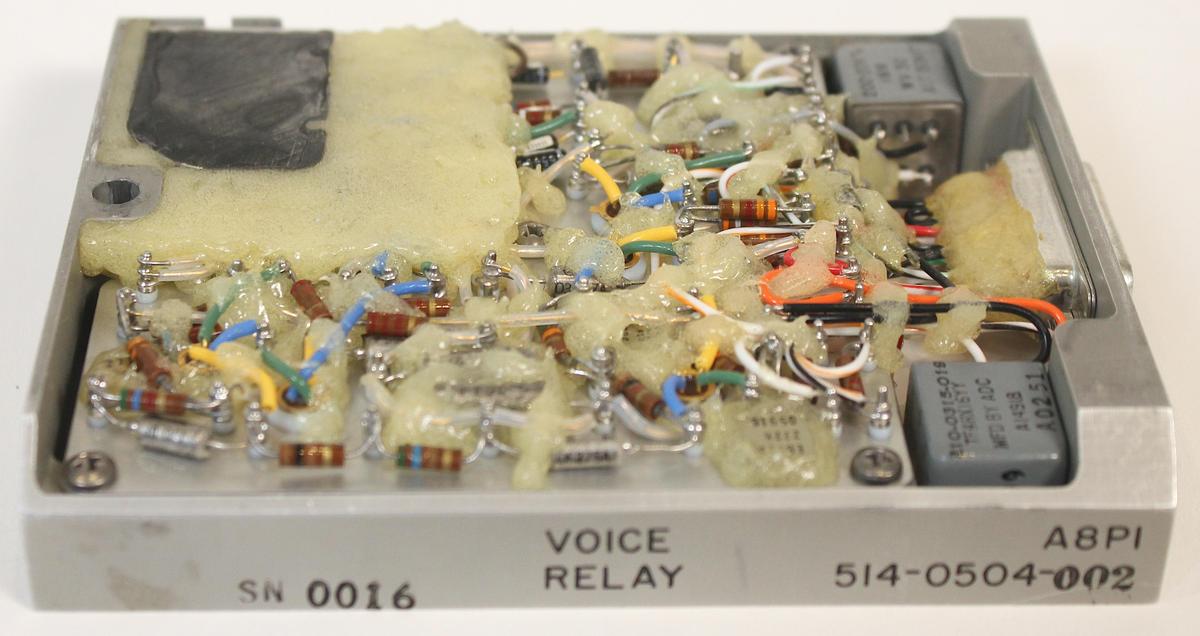
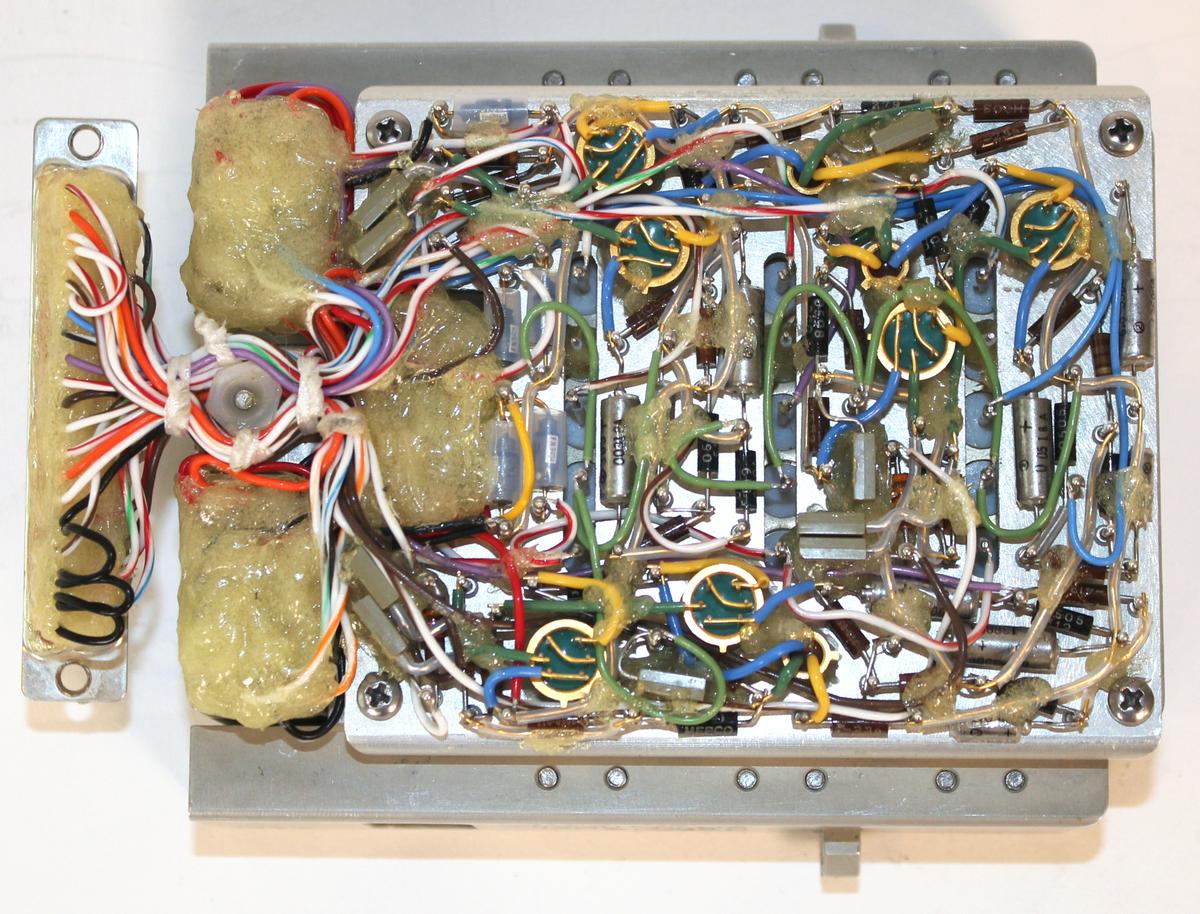
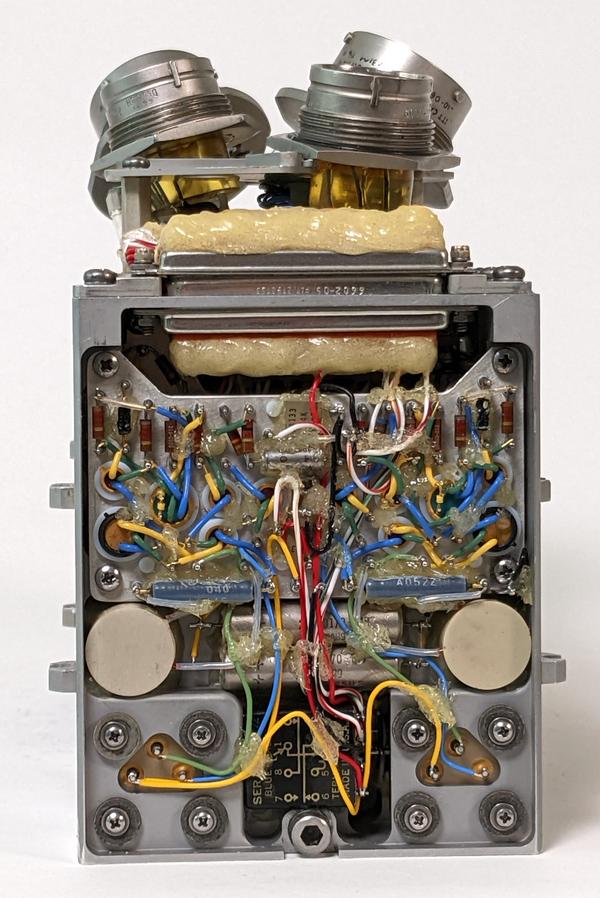
The circuitry on the bottom side of the board is arranged in orderly columns, unlike the other side. I don't know why the design styles of the two sides are so different. However, in a few places they put components under other components, so the circuitry isn't as orderly as it appears. The back of the bandpass filter is visible at the bottom. The two sides of the module are connected by a few gray wires.
How the FM demodulator works
FM radio has a tragic history. It was invented in 1933 by Edwin Armstrong, a prolific inventor of radio technologies (no relation to Neil Armstrong, first to walk on the Moon). FM was a superior alternative to AM (amplitude modulation), an earlier radio transmission system. Unfortunately, RCA (Radio Corporation of America) had invested heavily in AM radio and lobbied to block the introduction of FM. Armstrong spent years battling RCA in court with little success, resulting in his suicide in 1954. Almost a year later, his wife obtained a million-dollar settlement from RCA (about $8 million in current dollars), followed by successful patent litigation leading to recognition of Armstrong as the inventor of FM. Eventually, in the 1960s, FM radio achieved commercial success, as well as its use in the space program.
In an FM signal, the frequency of a carrier signal is changed (modulated) depending on an input signal. That is, the varying frequency of the transmitted signal indicates the level of the input. An FM demodulation circuit undoes this process, converting a varying frequency input into the corresponding voltage to recover the original signal. Many FM receiver designs have been used with tradeoffs of linearity, noise rejection, and circuit complexity.9 The simple but inaccurate slope detector uses a high pass filter to produce more output at higher frequencies. Several techniques use a circuit tuned to the carrier frequency so the output increases with frequency deviation: the vintage Foster-Seely discriminator dating back to 1936, the ratio detector, and the simple and popular quadrature detector. The complex phase-locked loop (PLL) approach keeps an oscillator locked onto the input frequency while producing the corresponding voltage.
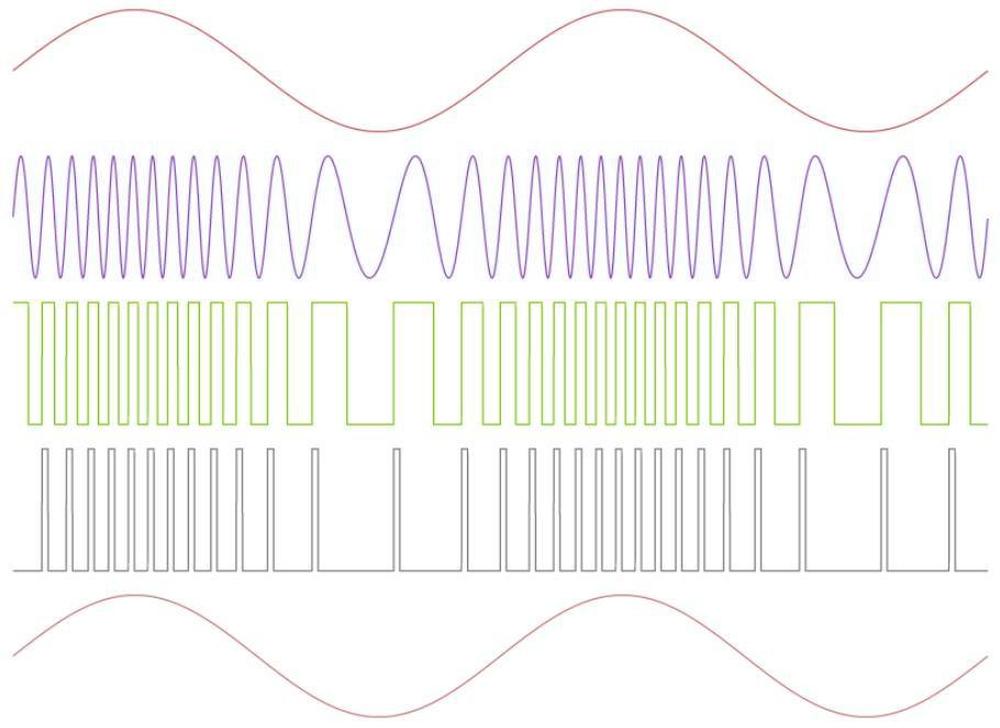
The premodulation processor, however, used a pulse-averaging discriminator, a high-quality but expensive demodulator used in wideband applications such as telemetry. The diagram below illustrates the FM modulation and demodulation process. The red line at the top shows an audio input signal, which modulates the purple signal: when the input is higher, the purple signal has a higher frequency. The FM purple signal is transmitted to the spacecraft. To demodulate the signal, the premodulation processor first amplifies and clips the signal (green). Next, it produces short, fixed-width pulses (gray), triggered by each green pulse; as the input frequency increases, these pulses will be closer together. Applying a low-pass filter smooths out the pulses, resulting in a higher output level when the pulses are close together.10 The result (red, bottom) matches the input.
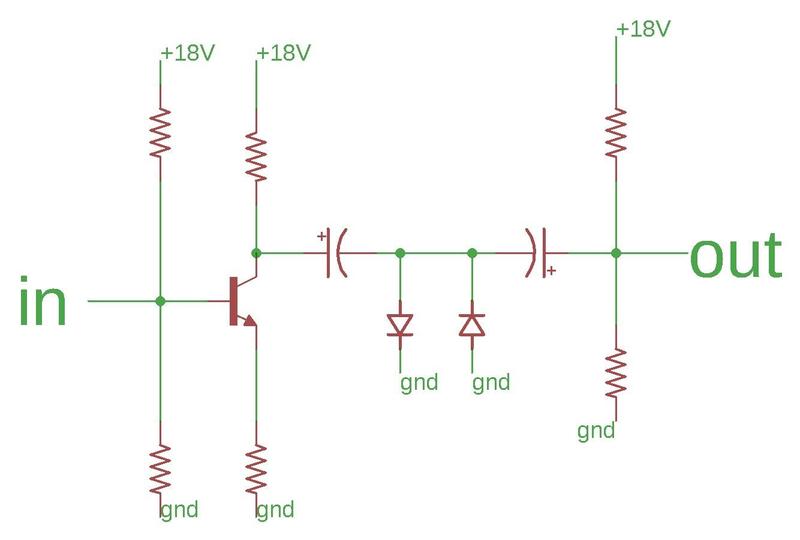
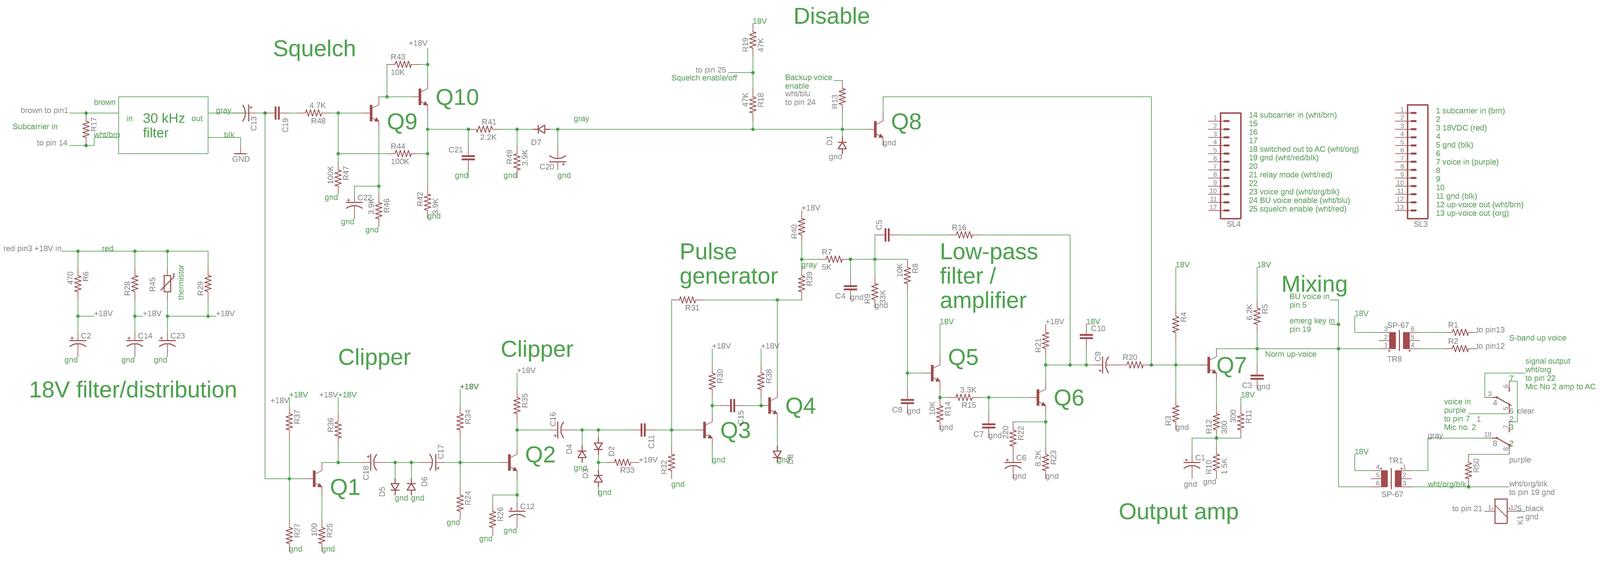
Looking at the premodulation processor's circuitry, the first step is to amplify and clip the input signal, turning the input into square waves. This step removes any variations in the input signal level, reduces the effect of noise, and creates a clean signal for the next phase. Clipping is done with a pair of diodes. A diode will turn on at about 0.6 volts, so the result is that the signal is limited to -0.6 volts to 0.6 volts. You can think of clipping as cutting the peaks off the sine waves and amplifying, so you end up with sharp transitions rather than a smooth wave.11 The schematic below shows one of the two clipping stages. The transistor amplifies the input, using a basic NPN transistor amplifier circuit. The two diodes in the middle clip the signal. The capacitors block the DC component of the signal, ensuring that it is centered around 0 for symmetrical clipping.
The clipper is followed by a two-transistor pulse generator, a "single-shot monostable multivibrator". Each input pulse discharges its capacitor, which then recharges through a resistor. This resistor-capacitor delay creates a fixed-width pulse, and then the circuit waits for the next input pulse. The next stage is a two-transistor low-pass filter that turns the pulses into a smooth output, using a handful of capacitors. It is followed by a transistor amplifier (that can be turned off as needed). This feeds two audio transformers to produce the voice outputs that go to the Audio Center, and thus the astronauts.
More features
In the basic configuration, the voice detector extracts the voice signal, while the data detector extracts the data signal, using a similar circuit. However, in case the voice communication circuitry failed, the system provided an "up voice backup" circuitry, a redundant way for ground stations to send voice to the spacecraft. The backup path transmitted voice over the data sub-band, and the data detector performed the FM demodulation. By flipping a switch, the data detector's output was routed to the voice circuitry, providing a voice path for emergencies. (Backup voice was completely analog, even though it used the data detector module.) During the Apollo 13 incident, the astronauts used backup voice to conserve electricity, which was running critically low.12
If voice communication failed entirely, the astronauts could switch to "emergency key" mode and transmit Morse code using the push-to-talk button on their umbilical cable. Most of the emergency key circuitry is elsewhere, but the voice detector has an input for the emergency key tone to get mixed into the audio that the astronauts heard.
The communication system also included "squelch", a feature that silenced the audio if the signal strength dropped too low. ("Squelch" is a curious word, an onomatopeic 17th-century word meaning "to crush", later used figuratively as "suppress", and then in the 1930s as a radio circuit to suppress noise.) The S-band radio originally didn't include squelch but NASA soon found that a loss of the carrier signal created high noise levels that could disrupt other audio channels. To avoid this problem, a squelch feature was added to the radio before the Moon landings.
The squelch circuit detected the level of the carrier signal much like an AM radio, using a diode to rectify the sine wave and track the peaks. It used two transistors to amplify the signal and a third transistor to disable the audio, triggering squelch if the carrier level fell too low. A squelch disable switch was provided to ensure that, if necessary, voice could be used even at low signal levels. Moreover, some astronauts liked disabling squelch so they could use the channel noise to determine the channel's status.
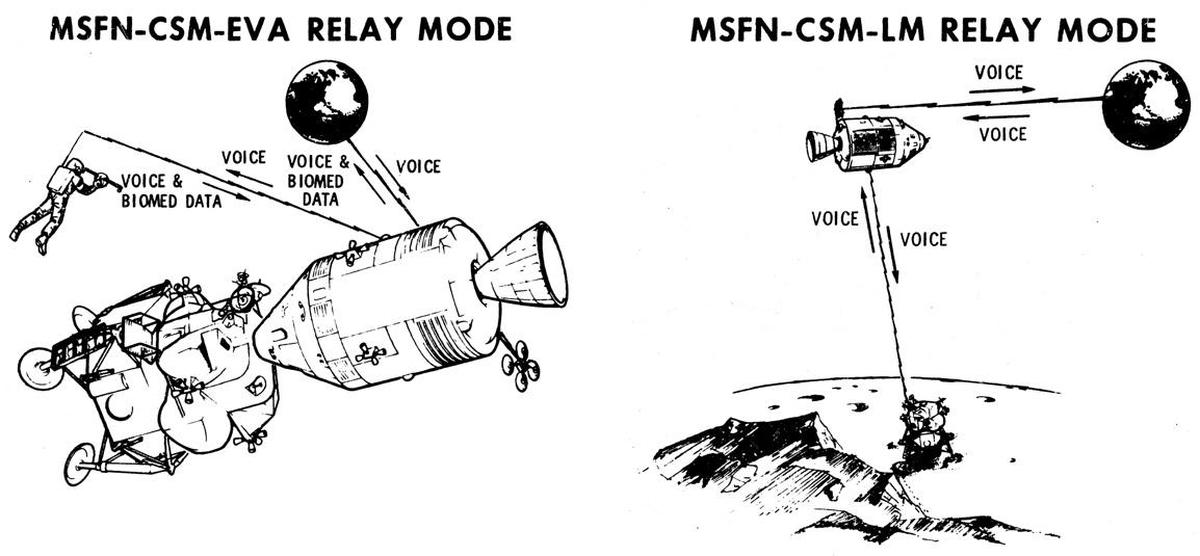
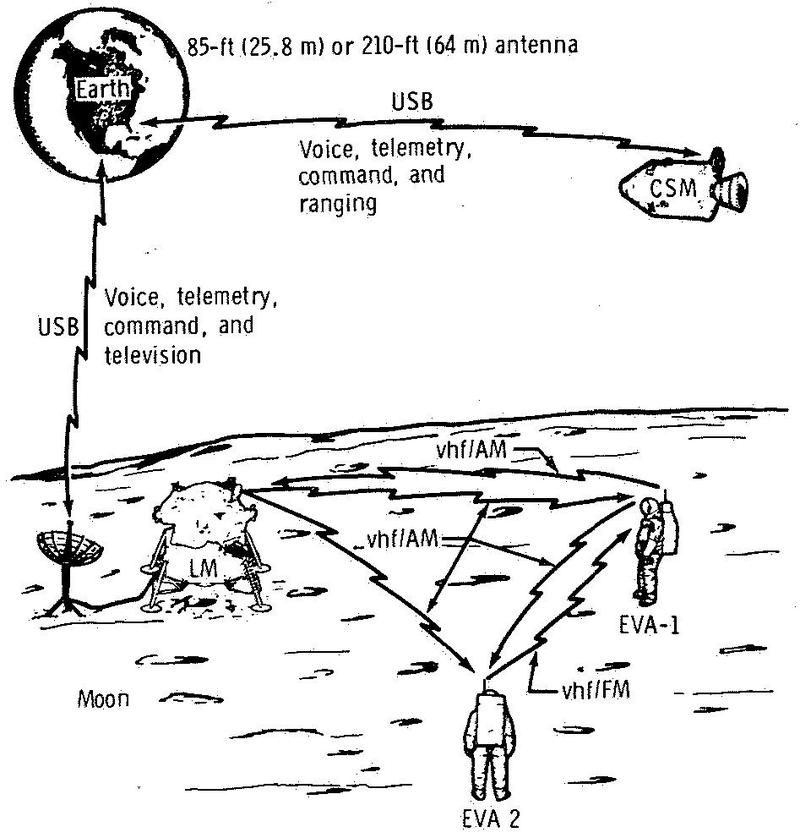
Another important feature for redundancy was relay support. If, for instance, the S-band radio failed on the Lunar Module, the Command Module could relay communication to and from the ground, using the VHF radio, as shown below. The circuit to relay communication from the ground uses a clever implementation trick. By flipping a switch, the ground up-voice signal replaced the Command Module pilot's microphone (#2, center seat), so ground communication could be transmitted just like the astronaut's speech, sending it over the VHF radio to the Lunar Module, for instance. The diagram below illustrates two scenarios: from ground to an extra-vehicular activity or from ground to the Lunar Module, relayed through the Command Module.
The voice relay circuit was implemented with an electromechanical relay in the voice decoder module—don't be confused with the two completely different meanings of "relay" in this system. Flipping a switch caused the electromechanical relay to replace the microphone signal with the up voice signal.13
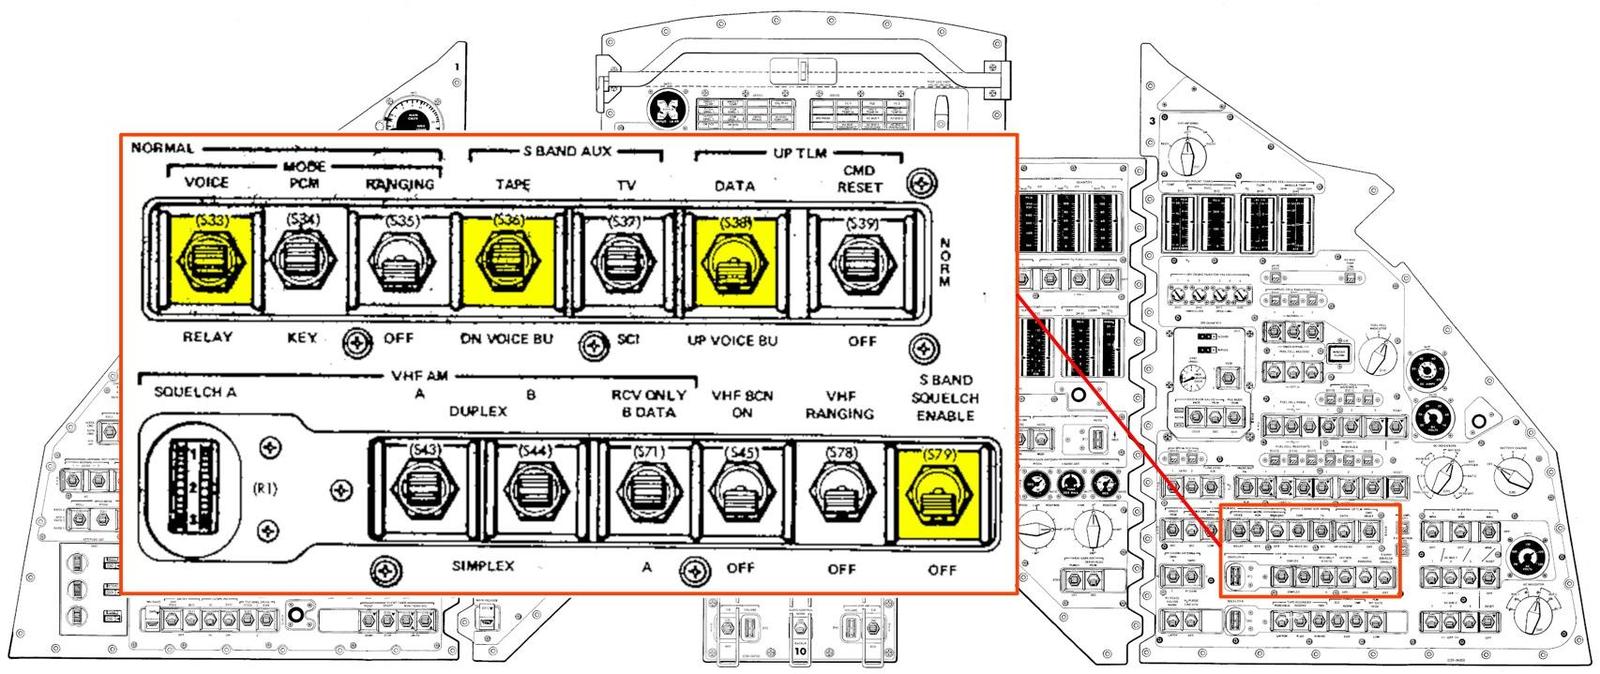
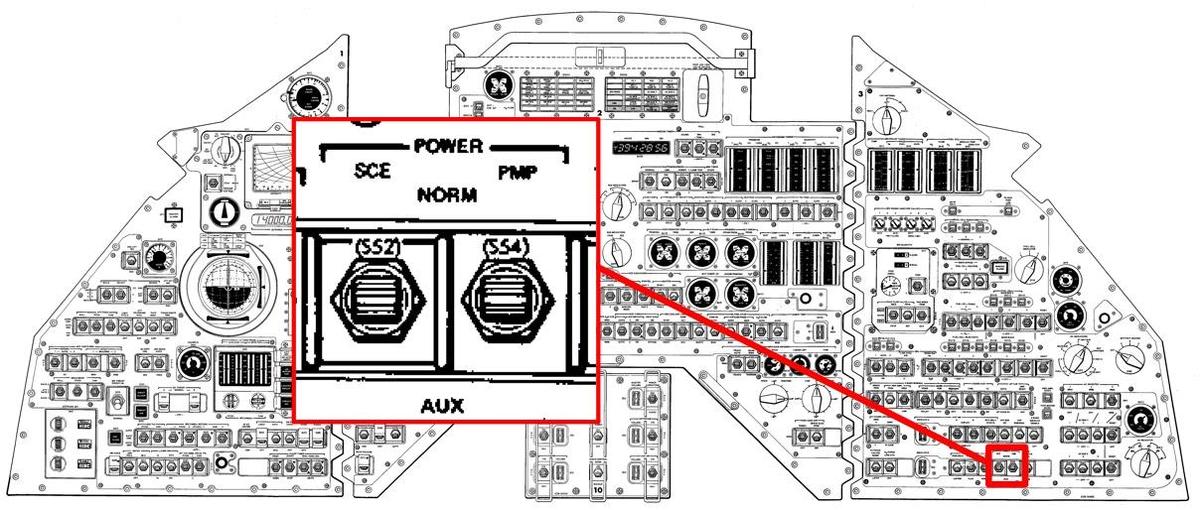
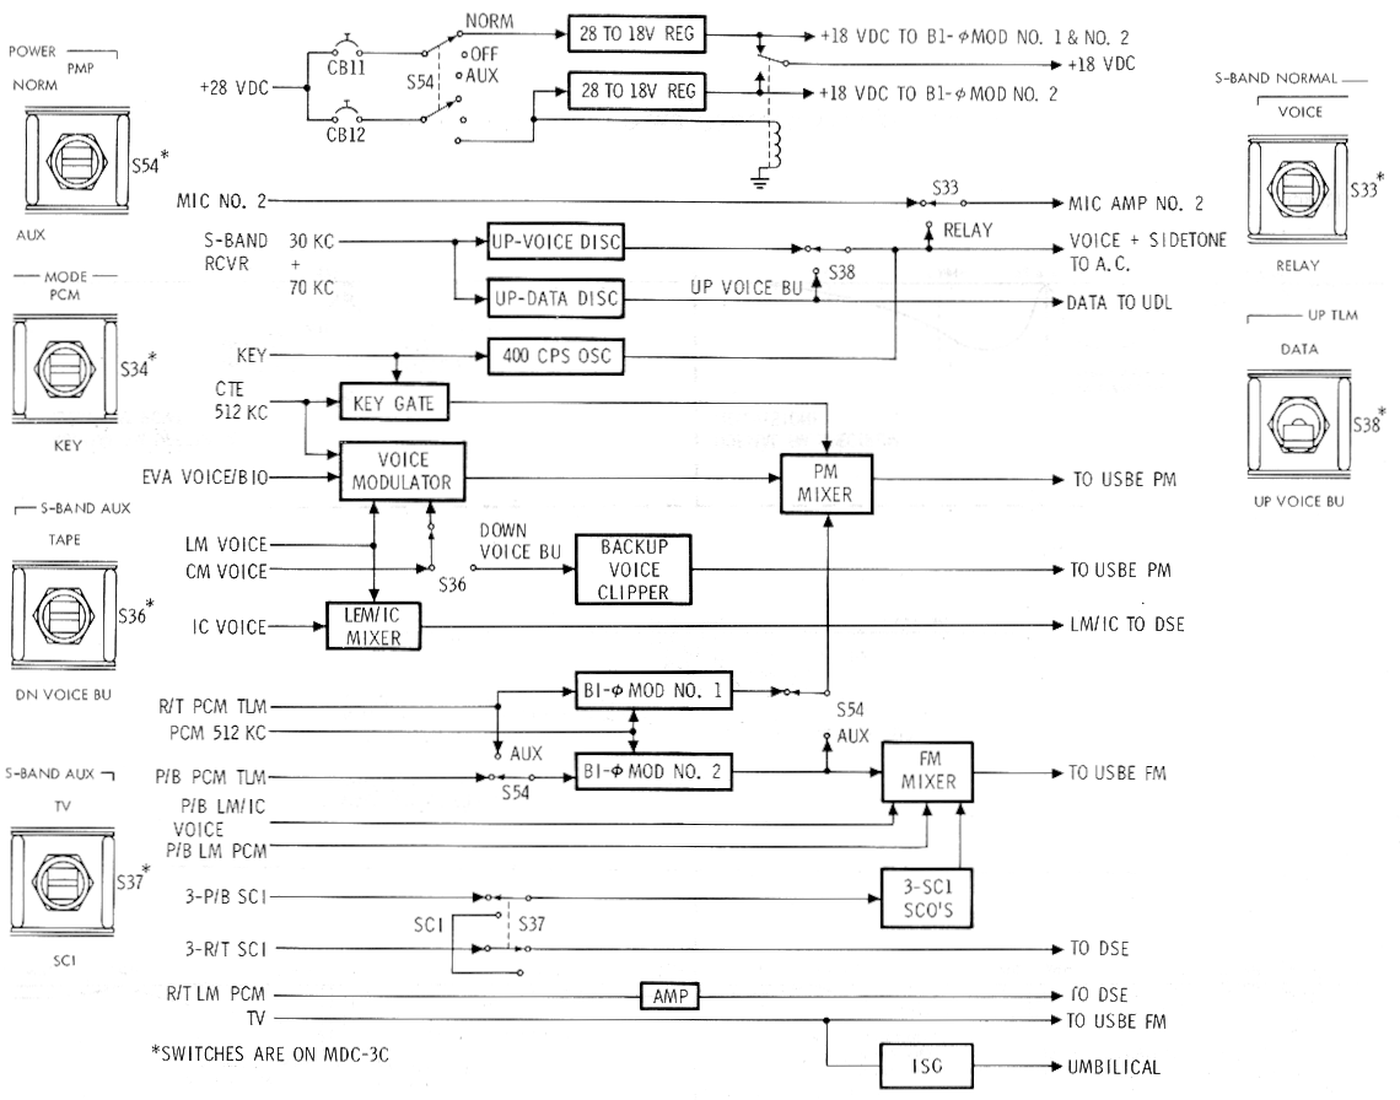
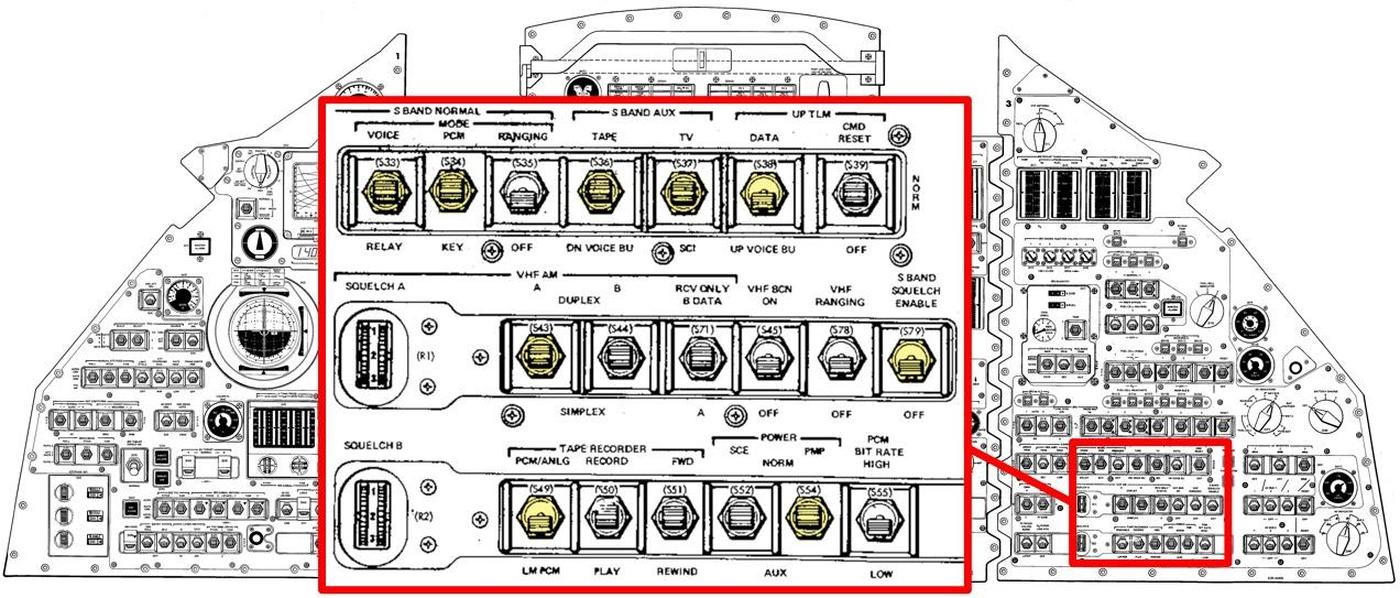
The astronauts sat in front of a complex control panel full of switches and gauges. The controls for the premodulation processor were grouped in the lower-right corner of the console with other communications switches. The diagram below shows the switches that controlled the voice detector features: squelch, backup voice, and voice relay, highlighted in yellow.
Schematic
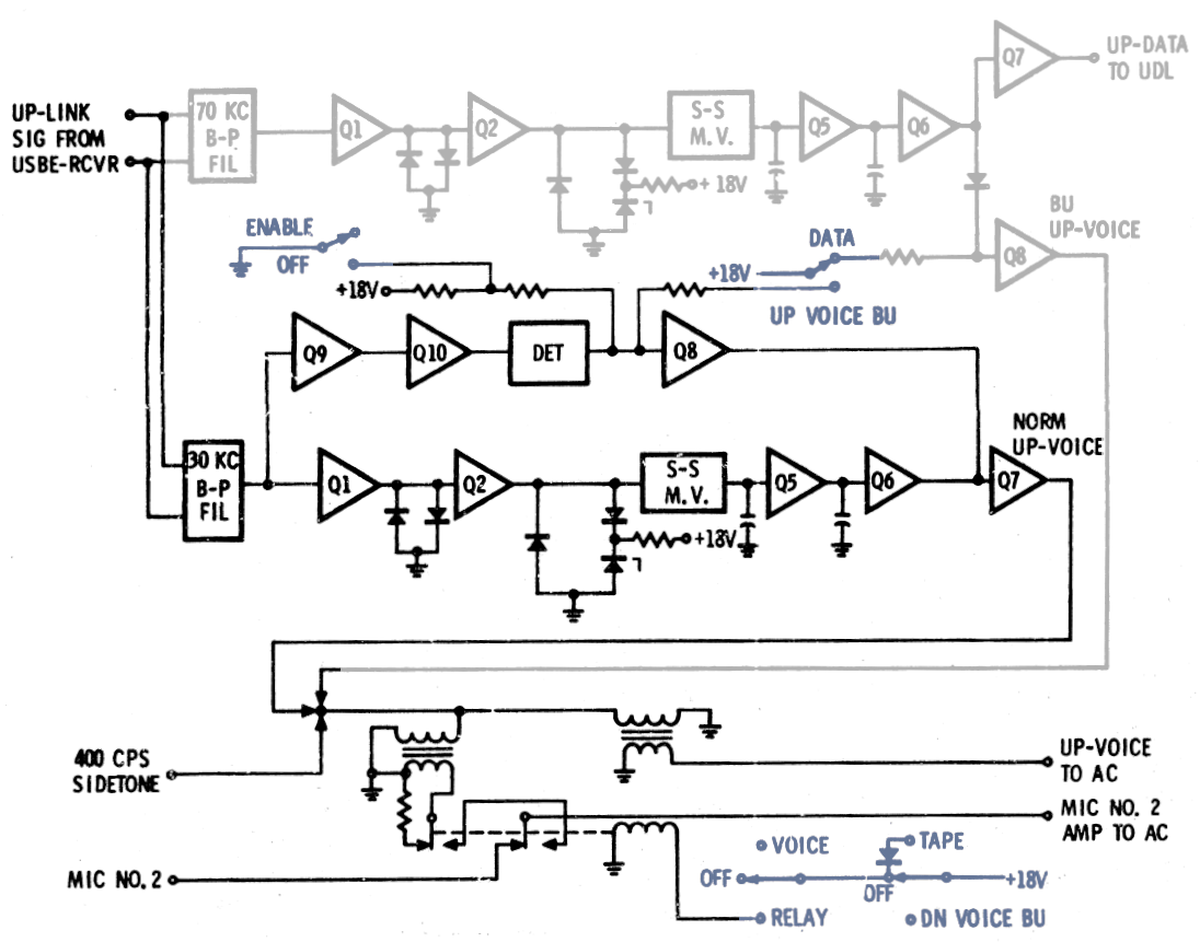
The detailed block diagram shows the construction of the voice detector and data detector modules. Each triangle corresponds to a transistor. I've grayed out the data detector and colored external switching circuitry in blue; these switches match the ones above. You can see how the backup up-voice comes from the data detector module, and then is merged into the voice detector's output, under the control of the "data / up voice BU" switch. At the bottom, the relay switches the voice signal in place of the microphone #2 signal when relaying voice from Earth. ("AC" is the Audio Console, the audio system connected to the astronaut's headphones and microphones.)
After tracing out the module's circuitry, I generated the schematic below. You can match the schematic against the block diagram to see how the functional blocks are implemented,14 using relatively simple circuits with one or two transistors per function.
The photos below show how the circuitry maps onto the physical layout of the boards in the voice detector module. Signal processing starts on the right with the FM circuitry (clippers and pulse generator), and the squelch circuit. The low-pass filter and output circuitry is on the left board.
Conclusion
From the outside, the premodulation processor is a mysterious blue box. Opening it up reveals relatively straightforward transistor circuits, implemented with a surprisingly haphazard construction technique.
Although I reverse-engineered this module partly from curiosity, the main motivation was to uncover a pin that was missing from our documentation, specifically the pin to control squelch, missing since squelch was added relatively late in the design. We plan to wire up the premodulation processor, using an elaborate "breakout board" that Eric is designing. We can then use the premodulation processor as it would have operated during a mission, hooking it up to the transponder and giving it radio signals. I announce my latest blog posts on Twitter, so follow me @kenshirriff for updates. I also have an RSS feed.
For an overview of the premodulation processor, see my previous blog post. Also see Curious Marc's video where the premodulation processor is disassembled (below). Thanks to Mike Stewart, Curious Marc, and Eric Schlaepfer for their roles in the premodulation processor investigation. Thanks to Marcel for providing the premodulation processor.
Notes and references
-
For detailed specifications of the premodulation processor, see Command/Service Module Systems Handbook p73. ↩↩
-
The design standard for the Apollo audio system was 90% word intelligibility for the main links and 70% for the backup links. This standard seems surprisingly poor, with one out of 10 words unintelligible, but achieving this standard was challenging due to the extreme distance to the Moon. For detailed information on the voice communication system, see Apollo Experience Report - Voice Communications Techniques and Performances. It discusses the performance requirements for the Apollo communications system and how the system was designed to achieve the intelligibility requirements. ↩
-
Phase modulation (PM) varies the phase of the carrier signal, rather than varying the frequency as in frequency modulation (FM). The techniques are very similar since increasing the phase compresses the waveform, increasing the frequency. Specifically, phase modulation of an input is the same as frequency modulation of the input's derivative. Apollo used phase modulation for the overall signal because it keeps the frequency (mostly) constant so doppler ranging could be used to measure the spacecraft's speed. ↩
-
The transponder got its name because it also sent the signals back to Earth after shifting the frequency, so the distance to the spacecraft could be accurately determined; see my discussion here. ↩
-
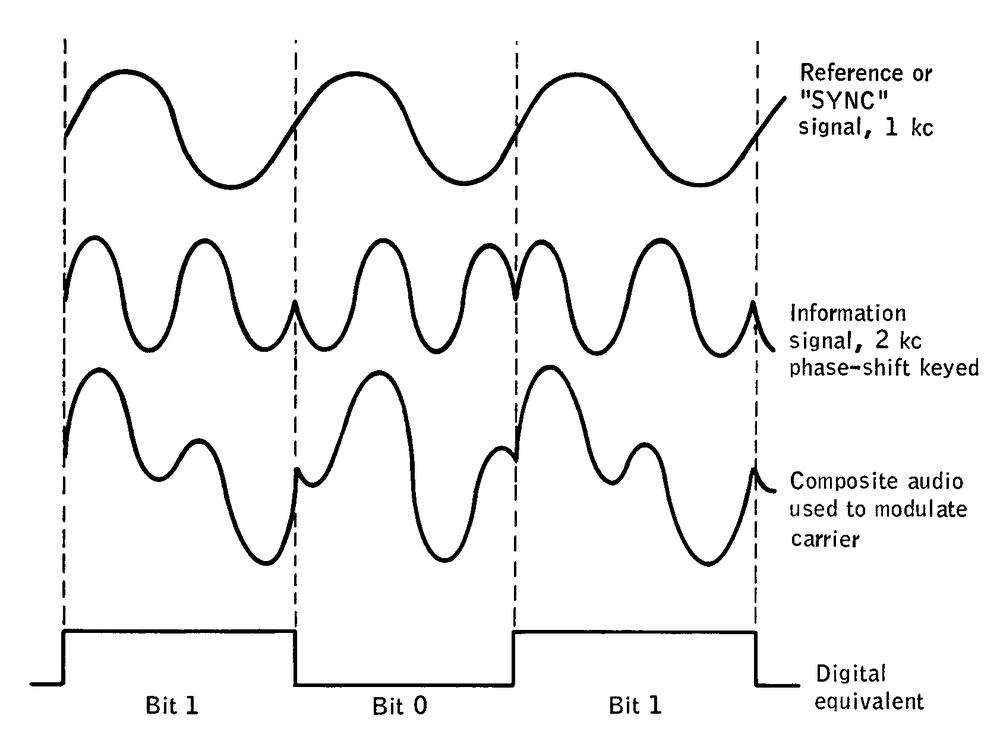
The data signal from Earth had a third layer of modulation: the binary data was modulated with phase-shift keying at 2 kilohertz to produce an audio signal for transmission. Another box, the Up-Data Link demodulated and decoded this signal after the premodulation processor had demodulated the FM layer. I have another blog post that describes this. ↩
-
I'm not covering the data detector in this blog post, but since it's so closely tied to the voice detector, I'll give an overview. Its circuitry is similar to the voice detector, but simpler, since it doesn't have squelch or the relay. It has a similar bandpass filter module, but at 70 kilohertz rather than 30 kilohertz, reflecting the data subcarrier frequency.
The data detector module. -
In case anyone is studying the block diagram carefully, I'll explain the labels such as "Q1-6V". This indicates transistors 1 through 6 in the voice module. "Q8D", on the other hand, indicates transistor 8 in the data module. ↩
-
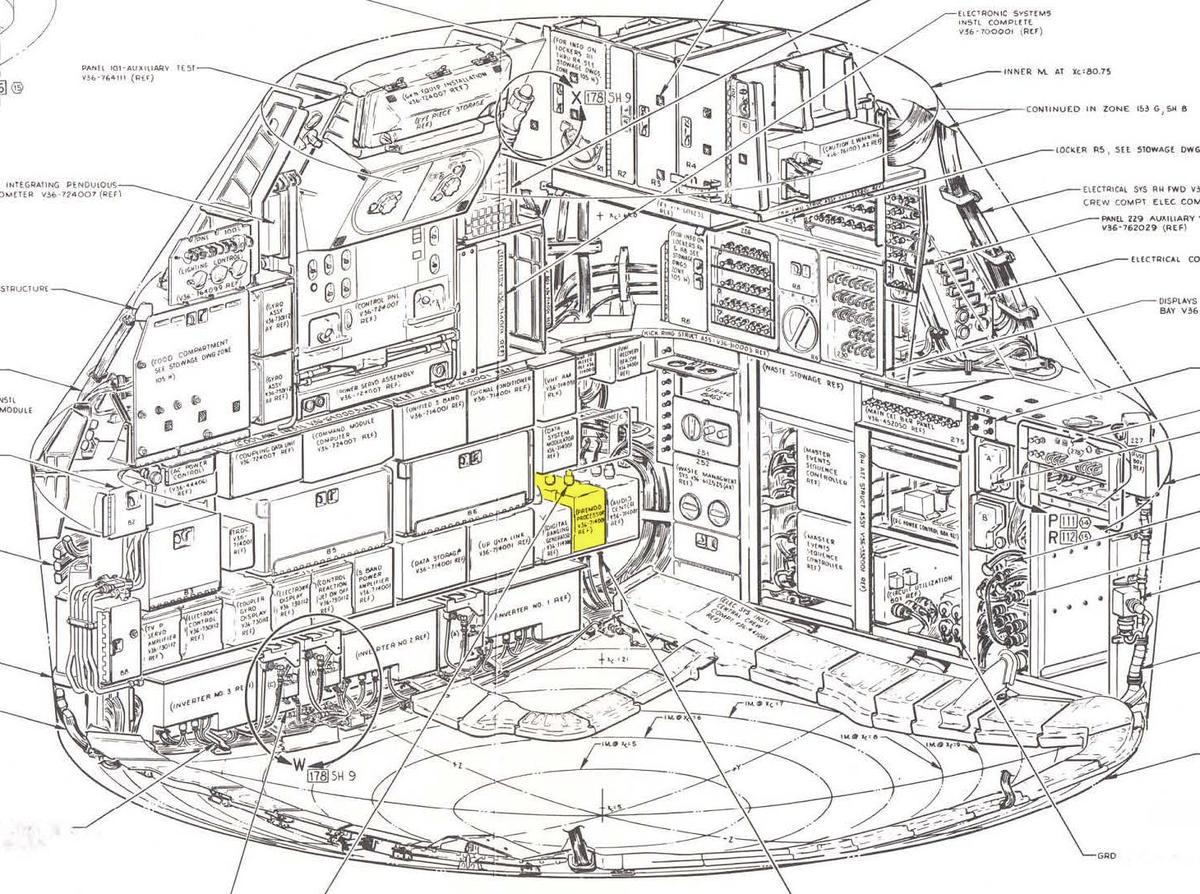
The premodulation processor was one of many boxes of electronic circuitry packed into the spacecraft and linked by thick cables. The diagram below highlights where it was mounted in the lower equipment bay of the Apollo Command Module.
The premodulation processor was one of many electronic boxes in the Command Module's lower equipment bay. Diagram from Command/Service Module Systems Handbook p212. -
The technique of using varying digital pulses to generate an analog signal is similar to the PWM (pulse-width modulation) technique used for analog outputs on the Arduino. The difference is that the Arduino uses pulses with a fixed frequency and varying width, while the FM discriminator uses pulses with a varying frequency and fixed width. ↩
-
The clipping process preserves the "zero-crossings", the points where the waveform's voltage crosses zero. This throws away amplitude fluctuations and most of the noise that may be in the signal. ↩
-
The idea of backup voice was to provide a voice channel for emergencies that used less power, at the cost of garbling up to 30% of the words. After the explosion, Apollo 13 used the backup voice system so they could turn off the Lunar Module's power amplifier and conserve electrical power. (See Apollo 13 Mission Operations Report pages N-2 and N-7, as well as the transcript.) Backup voice was also used at times during Apollo 16 due to a failure of the Lunar Module's steerable S-band antenna; see Apollo 16 Mission Report page 7-3, which calls this mode "down voice backup". (I should point out that these backup voice incidents involved the Lunar Module, so the Command Module's premodulation processor didn't take part.) ↩
-
The relay circuitry was a bit more complicated than I expected. Its main task is to switch between the microphone input and the voice signal. However, it also switches a 50Ω resistor across the transformer if the voice signal is not used, presumably so the impedance remains unchanged and Audio Console level doesn't jump. In other words, the resistor gives the unused voice signal somewhere to go. ↩
-
The major difference between the block diagram and my schematic is that the block diagram shows the transformers connected to ground, while I found that they are connected to +18V. ↩
